
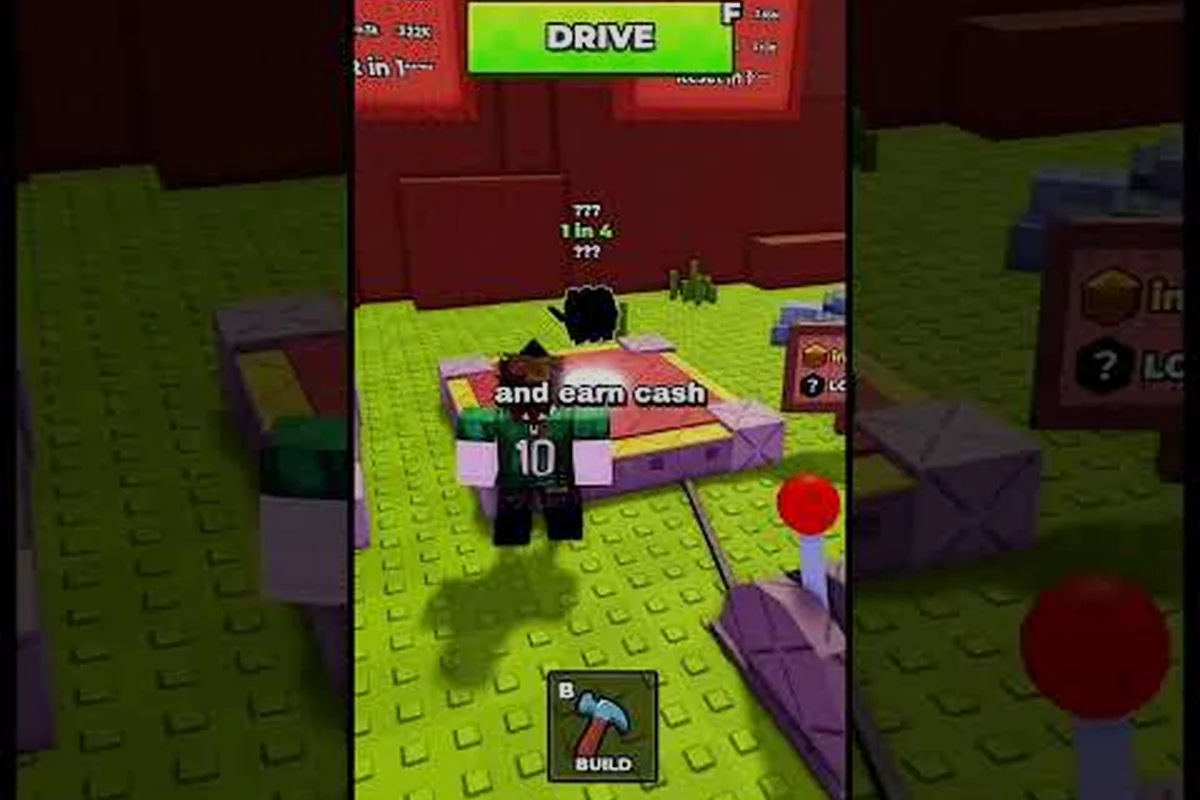
Knowing how to equip weapons in Build and Kill Zombies is the single biggest lever between a car that stalls in the first horde and one that crushes everything to the final boss. Every block, engine, and wheel you roll on the CAR PARTS machine creates empty support slots, and every weapon you pull from the SUPPORTS machine only becomes useful once you actually snap it onto the chassis. Get the slot layout, the remove-and-replace loop, and the stat priorities right, and you can stack a best weapon combo before the first fuel tank runs dry.
Entering Build Mode and Finding Your Support Slots
Build and Kill Zombies separates construction from combat through a single toggle: press B to enter Build Mode, the dedicated editing layer where every car part and weapon support is interactive. Outside Build Mode, weapons snap to fixed positions and cannot be moved, rotated, or removed, which is the most common reason new players think their equipped weapon "vanished" — it is locked to the chassis but invisible from the driving camera.
How Many Slots Your Car Actually Has
Support slots are not generated by default; they appear only when the underlying car part has been rolled with the right shape and size. According to community testing, a starter chassis typically exposes 2 to 4 weapon slots on the roof and hood, while a mid-game roll with extended fenders can push that count to 6 or 7. The slot cap is a hidden stat on the part itself, not on the weapon, which means swapping weapons never changes how many slots you have.
| Car Part Category | Typical Support Slot Count | Best Slot Location |
|---|---|---|
| Blocks (small) | 1–2 | Roof center |
| Blocks (large) | 3–4 | Roof + hood |
| Engines (rear) | 1–2 | Rear bumper |
| Wheels (oversized) | 0–1 | Fender only |
| Fuels (extended tank) | 0 | None |
Entering Build Mode Step by Step
The toggle is a single key, but the order of operations matters because the game does not pause while you edit. Walk back to your plot, stand within range of the chassis, and press B; the camera shifts to an overhead view and every interactive node lights up blue. Hover any blue node to see whether it is a car part, a support, or an empty slot, then left-click to interact. Players who skip the hover step often try to drag a weapon onto a non-slot node and lose it to the ground, which is one of the most common ways new players ask how to remove weapons — they did not equip it in the first place.
Equipping a Weapon from the SUPPORTS Machine
The SUPPORTS machine sits adjacent to the CAR PARTS machine on every plot, and every roll costs gold scaled to your current tier. You pull a weapon, you walk it to the chassis, and you snap it into an open support slot — three steps that almost every player gets wrong on the first run.
The Roll → Carry → Snap Loop
After a roll, the weapon spawns as a physical object next to the SUPPORTS machine. Pick it up by walking over it (auto-pickup is on by default), then return to your plot and press B to re-enter Build Mode. Hover a blue slot node, and a green outline appears if the slot accepts the weapon type; left-click to snap it in. The weapon is now equipped, and the slot node turns from blue to yellow to signal a confirmed equip.
| Step | Action | What You See | Common Mistake |
|---|---|---|---|
| 1 | Roll at SUPPORTS machine | Weapon spawns on ground | Walking away before pickup |
| 2 | Walk to chassis + press B | Blue node overlay | Forgetting B and trying to click from drive cam |
| 3 | Hover blue slot | Green outline = compatible | Hovering a non-slot node (red outline) |
| 4 | Left-click to snap | Node turns yellow | Releasing click outside the slot |
| 5 | Press B again to exit | Weapon visible from drive cam | Leaving Build Mode mid-snap |
Why Some Weapons Refuse to Equip
Not every weapon fits every slot. Melee weapons such as the Crowbar and Spiked Plank only equip to forward-facing slots, while ranged weapons such as the Scattershot Turret require a turret-capable node that only spawns on extended roofs and rear bumpers. Community reports confirm that a weapon silently failing to equip almost always means the slot shape is wrong, not that the roll was bad. If you want a deep breakdown of which support pieces fit which car frame, the Build and Kill Zombies best weapon guide maps every slot archetype to its top three weapons.
Removing and Replacing Equipped Weapons
Knowing how to remove weapons in Build and Kill Zombies is just as important as equipping them, because a single wrong roll can lock a slot for the rest of the run. Removal is fully free, has no cooldown, and returns the weapon to your inventory without destroying it.
The Right-Click Remove Method
Hover an equipped weapon (the yellow node), and right-click to remove it. The weapon drops back into your inventory and the slot turns blue again, ready for a new equip. If the slot remains yellow after a right-click, you are not in Build Mode — the most common cause of the "I right-clicked and nothing happened" complaint, and the exact reason the question of how to remove weapons shows up so often in community threads.
When to Remove vs. When to Keep
Keep a weapon if its tier matches the current zone's zombie density; remove it if you have rolled something better. A practical rule from veteran players: if the new weapon's damage stat is at least 20% higher than the equipped one, remove and replace immediately. Anything below that threshold is a side-grade, and side-grades usually cost you more time than they save on the next run. For a full rarity breakdown that helps you decide whether a swap is worth it, the Build and Kill Zombies legendary weapon guide lists every tier's damage and durability ranges.
Reading Weapon Stats
The stat card that pops up when you hover an equipped weapon is dense, but only four numbers actually decide whether a weapon is worth a slot. Ignore the cosmetic flavor text; focus on the four stats below.
| Stat | What It Controls | Good Range (Mid-Game) | Red Flag |
|---|---|---|---|
| Damage | Per-hit zombie HP removed | 80–150 | Below 50 |
| Durability | Hits before the weapon breaks | 200–400 | Below 100 |
| Fire Rate | Hits per second | 0.8–1.5 | Below 0.5 |
| AoE Radius | Splash damage in studs | 6–12 studs | Zero (single-target only) |
Damage vs. Durability Tradeoff
High-damage weapons tend to break in 30 to 60 seconds of continuous combat, while low-damage weapons last the full run. The strongest 2026 meta builds, according to community testing, pair one high-damage front weapon with two mid-durability side weapons so the chassis can keep rolling even after the front piece shatters. Players who stack three high-damage weapons usually wipe on the second boss because all three break within seconds of each other.
Fire Rate and AoE Synergy
Fire rate multiplies damage output, and AoE multiplies kill count. The Spiked Roller sits at the sweet spot — 1.2 hits per second with an 8-stud AoE radius — which is why veteran players rank it among the best weapons 2026 has produced. A weapon with high damage but zero AoE, such as the Long Pike, is great against single King 1x1x1x1 phases but underperforms in crowd-clear runs. For a full ranked comparison of every support piece by these four stats, the Build and Kill Zombies melee weapons guide lists each option with its tier.
Stacking the Strongest Weapon Combo in 2026
A weapon combo is the set of supports you snap onto a single chassis, and the goal is to cover the weaknesses of each piece with the strengths of the others. A single overpowered weapon rarely wins a run on its own; the chassis does.
The Front + Side + Rear Template
| Slot | Recommended Role | Example Weapon | Why It Works |
|---|---|---|---|
| Front | Single-target burst | Long Pike or Spiked Plank | High damage, forward-facing only |
| Side L | Crowd-clear AoE | Spiked Roller | 8-stud radius shreds horde flanks |
| Side R | Crowd-clear AoE | Sawblade Disc | Spinning hitbox, low durability but high DPS |
| Rear | Durability anchor | Steel Bumper | 400+ durability, slows pursuers |
This template is the same one most top-10 ranked builds converge on, because it survives a full Hacker Event 2026 boss phase without a single weapon break. Players who run two front pieces and zero rear pieces usually lose the chassis to zombie spawns coming from behind.
Building Around the King 1x1x1x1 Boss
The King 1x1x1x1 boss in the Hacker Event 2026 has a frontal damage shield that absorbs 70% of incoming damage from forward-facing weapons, which means a front-loaded weapon combo is actually a liability. The meta counter is to flip the template: equip one Scattershot Turret on the rear bumper and angle the chassis backward so the rear arc becomes your damage face. According to players who have cleared the event, this single swap turns an overpowered weapon that felt mediocre into a King-killer, because the turret bypasses the frontal shield entirely. A deeper walkthrough of boss-specific setups lives in the Build and Kill Zombies car tier list, which maps every chassis to its optimal weapon combo.
When a Weapon Combo Becomes Overpowered
A combo crosses into overpowered territory when its combined AoE radius covers more than 75% of the chassis footprint while keeping at least one durability anchor in the rear. The Spiked Roller + Sawblade Disc + Long Pike + Steel Bumper combo hits 80% coverage with one anchor, and it is the build most community testers call the closest thing to a "press W and win" setup in the current patch. It is not the only overpowered weapon stack, but it is the most forgiving for players who are still learning how to equip weapons without losing them to the ground.
Saving and Resetting Weapon Loadouts
Build and Kill Zombies does not auto-save your weapon layout between runs, which catches almost every new player off-guard. When the chassis resets at the start of a new run, all equipped weapons return to the inventory but the slot positions are wiped, so you re-equip from scratch every time. The fast workaround most veterans use: keep a "loadout inventory" of your top four supports in a fixed hotbar slot, then snap them onto the chassis in the same order every run. Five minutes of muscle memory saves an hour of re-rolling.
When the Game Refuses to Save Your Equips
Two bugs trigger this. First, equipping while not in Build Mode silently fails, and the game does not warn you; the slot stays blue, you think the weapon is equipped, and on respawn the inventory still holds the unsnapped weapon. Second, equipping a weapon while another player is editing the same plot can desync the slot state, and one of you will see the weapon while the other sees an empty slot. Always equip solo, always confirm the yellow node, and you will never lose a loadout to a save bug.
Frequently Asked Questions
How do I equip weapons in Build and Kill Zombies if my car has no support slots?
You need to roll a car part with slot capacity first. Visit the CAR PARTS machine, reroll until the part shows a support-slot count above zero, then return to your plot and press B to enter Build Mode. No slots means no equips, no matter how many weapons you pull from the SUPPORTS machine.
How to remove weapons without breaking them?
Press B to enter Build Mode, hover the yellow equipped node, and right-click. The weapon returns to your inventory at full durability. There is no cost, no cooldown, and no risk of breaking the weapon on removal, so feel free to swap freely while testing combos.
What is the best weapons 2026 combo for clearing Hacker Event boss phases?
Equip a Scattershot Turret on the rear bumper, a Spiked Roller on each side, and a Long Pike on the front, then angle the chassis backward so the rear turret becomes the damage face. The King's frontal shield only blocks forward-facing weapons, so the rear arc bypasses it and melts the boss in under a minute.
Can I equip more than one of the same weapon?
Yes, but it is rarely optimal. Two Spiked Rollers double the AoE coverage on one flank, which is useful for narrow chokepoint runs, but it also doubles the durability drain on that side. Most top builds mix two different weapons per side to spread durability loss across the chassis.
Does weapon tier affect the slot count or just the stats?
Weapon tier only affects the four stat numbers; the slot count is locked to the underlying car part. A Legendary Long Pike fits in the exact same slot as a Common Long Pike, so reroll the car part, not the weapon, when you need more equip room.