
Car Builds
Build and Kill Zombies car builds covering BLOCKS, ENGINES, WHEELS and FUELS, plus the Fast Furious and Blue Monster blueprints and how weight decides a run.
Introduction
Build Mode is where a run is won or lost, long before the car ever moves. Build and Kill Zombies splits every vehicle into four part categories that roll from the CAR PARTS machine: BLOCKS form the chassis and decide how many mounting points you have, ENGINES set your top speed, WHEELS change grip and weight, and FUELS determine how long the run can last. On top of those free-form parts sit two named blueprints. Fast Furious is the speed-first layout that trades weapon capacity for outright distance, while Blue Monster is the heavier platform built to sit inside a zombie wave and grind kills. A blueprint doubles as a parts checklist, so completing the set assembles the whole vehicle for you. This section covers the trade-offs behind each category and how the two blueprints change the shape of a run.
Car Part Categories Compared
| Category | What it controls | Weight cost | Priority |
|---|---|---|---|
| FUELS | Total run length - the tank empties and the run ends wherever you are | Low to moderate | Highest early - upgrade before anything else |
| ENGINES | Top speed and acceleration, which sets how fast distance income accumulates | Moderate | High once fuel can sustain a long drive |
| BLOCKS | Chassis size and how many weapon mounting points you can add | High - every block is dead weight to drag | Mid - buy only the blocks your supports need |
| WHEELS | Grip, stability and how much weight the car can carry without wandering | Moderate to high | Mid - upgrade when a heavy build stops tracking straight |
| Fast Furious | Blueprint layout optimised for speed and distance over weapon slots | Low | Choose for record attempts and cash-per-hour |
| Blue Monster | Blueprint layout with more weapon slots for sustained wave clearing | High | Choose for kill income and boss encounters |
Build Priorities
BUILDS: Blocks
The chassis frame that everything else mounts to, and the heaviest thing you will bolt on
BUILDS: Engines
Top speed and acceleration, priced against the fuel you can actually carry
BUILDS: Wheels
Grip and load capacity, which quietly decide whether a heavy build stays controllable
BUILDS: Fuel
The single category that decides how long a run lasts, and the first thing to fix
Blueprints
Fast Furious and Blue Monster, the two named layouts that also work as parts checklists
BUILDS: Weight Budget
The invisible cost that decides whether a heavily armed car can travel far enough to use its weapons
Core Mechanics
Build Mode is a placement system, not a free-form editor. Press B to enter it, drop a chassis block, then attach an engine, wheels and fuel, rotating each piece so it faces the direction of travel. Mounting points and orientation both matter: a support rotated the wrong way will not make contact with a zombie, no matter how powerful it is. Weight is the hidden currency of the whole system. Every block, engine, wheel and weapon adds mass that the engine has to move, so each addition is a bet that the benefit outweighs the distance it costs. A blueprint shortcut sidesteps the guesswork by specifying a complete parts list; once every listed piece is in your inventory the game assembles the vehicle for you. Cash for these rolls comes from distance and kills, which means the build that earns fastest is always the one that gets built next.
Advantages
The part categories give you a genuinely legible set of levers: fuel for length, engine for speed, blocks for capacity, wheels for control. Because each category rolls separately, you can target the one bottleneck you actually have instead of gambling on a single mixed pool. The two blueprints cover the two legitimate playstyles cleanly - distance farming with Fast Furious and kill farming with Blue Monster - so there is no ambiguity about which layout suits a given goal. Build Mode is also free to re-enter, so a mistake in orientation or placement costs nothing but a few seconds. And because parts reset every run while skills persist, experimenting with a wildly different chassis never damages your long-term progression in any way.
Challenges
Weight is punishing in a way that is not obvious until a build is already rolling: adding weapon slots can shorten a run enough to cancel out the kills they earn. The four part categories compete for one income stream, so a new player who spreads rolls evenly across all four tends to end up with a mediocre car in every respect. Blueprints are the clearest path to a strong vehicle but depend on completing a specific checklist, which can take many rolls and a lot of cash before the payoff arrives. Fuel failure is abrupt and total - there is no limp-home mode - so a build that is only slightly under-tanked loses an entire run rather than part of one. And because precise drop odds are not published, planning around a specific rare part is unreliable.
Frequently Asked Questions
Should I upgrade the engine or the fuel first?+
What is the difference between Fast Furious and Blue Monster?+
How many chassis blocks should I use?+
Quick Tips
Upgrade fuel before the engine, then judge the pair by total distance. An engine upgrade on a small tank just reaches empty sooner, so buy range first and speed second, and measure the result by how far the car travels rather than by the top speed figure on the stat card. Weight is ultimately paid for in distance, so every addition has to earn its place on the chassis.
Keep the chassis only as wide as your weapon count needs. Every block is weight the engine drags for the whole run, so empty mounting surface costs distance without returning anything, and a narrow car with two well-placed supports regularly out-travels a wide one with four. Weight is ultimately paid for in distance, so every addition has to earn its place on the chassis.
Enter Build Mode and check orientation before every drive. A support rotated away from the direction of travel will not touch a zombie, and a misplaced weapon reads exactly like a broken one, so spend the free few seconds in Build Mode rather than concluding the item is useless. Weight is ultimately paid for in distance, so every addition has to earn its place on the chassis.
Featured
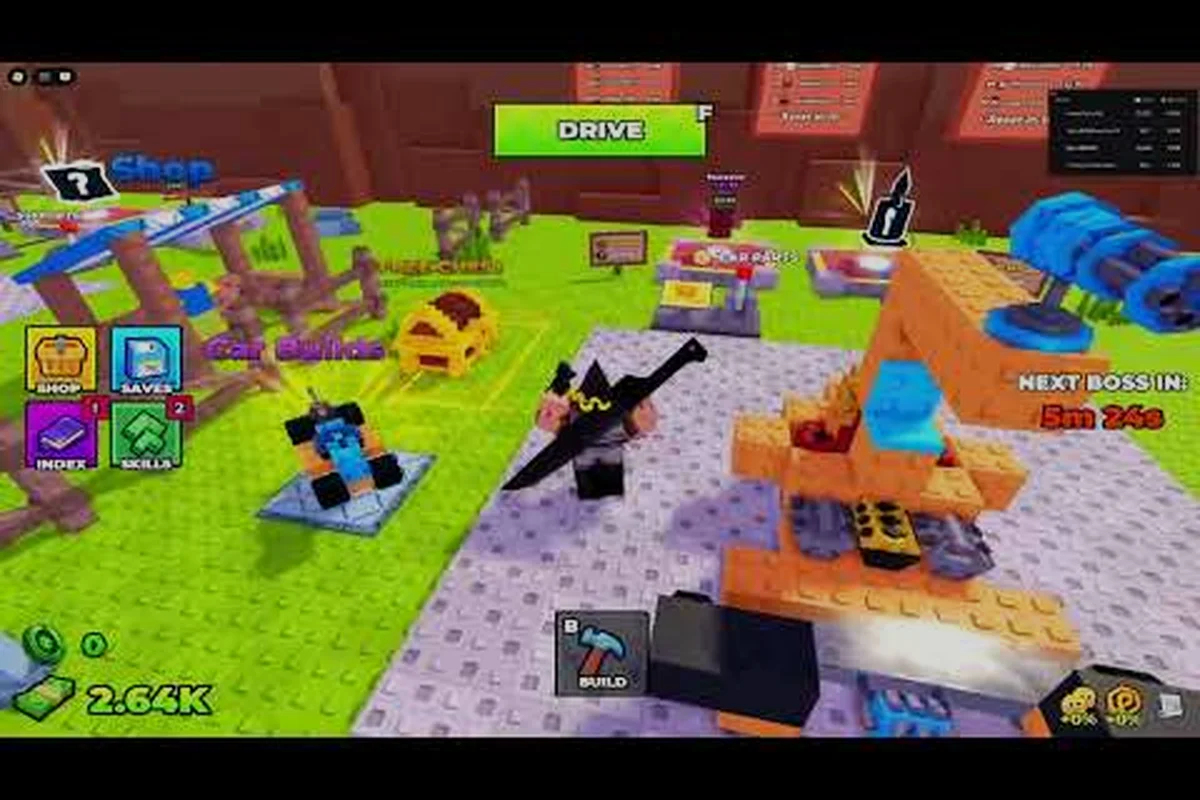
Build and Kill Zombies Car Build: Plot, Parts, and Rig
Piece together a working Build and Kill Zombies car build from claimable plot to mounted blocks, with starter rig ideas that clear early zombie waves.
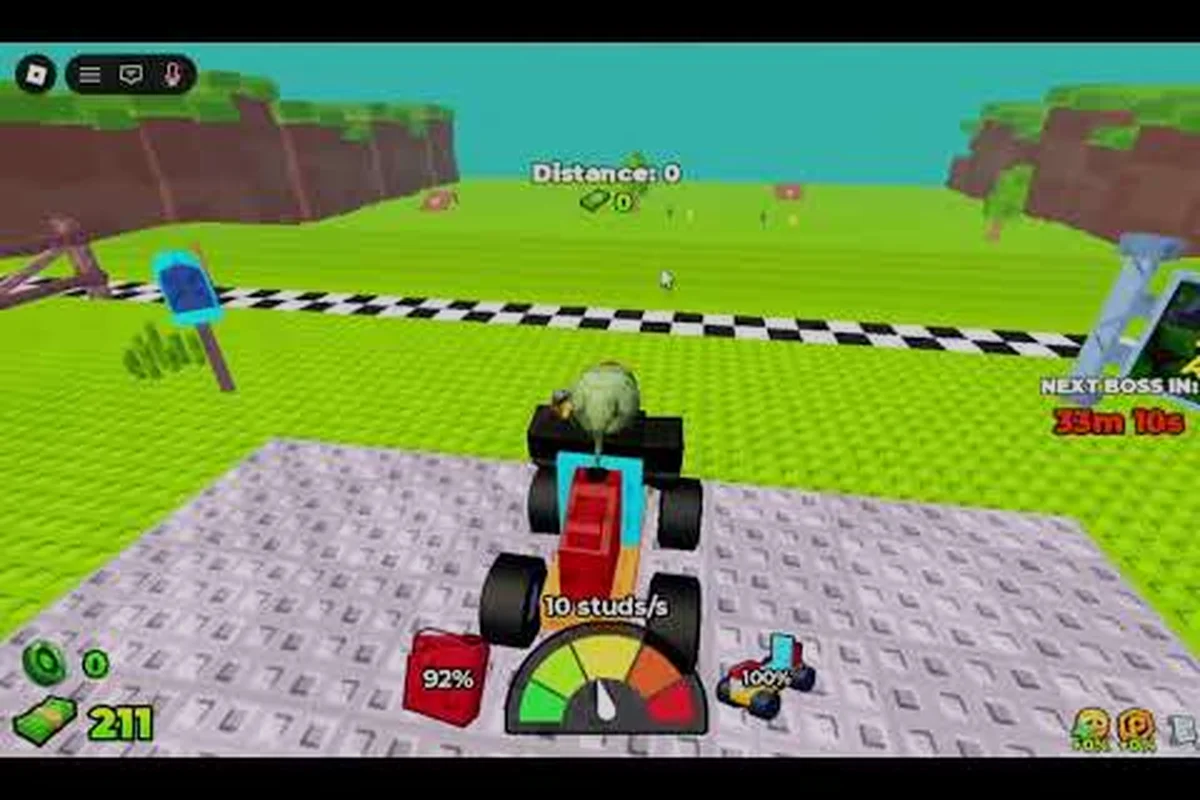
Build and Kill Zombies Heavy Car Build: Durability and Speed
Stack a Build and Kill Zombies heavy car build that shrugs off zombie hits, with part placement tips that keep it fast enough to keep grinding cash.
Build and Kill Zombies Best Blocks: Chassis, Engine, and Wheels
Compare every Build and Kill Zombies best blocks slot from chassis and engine to wheels so each part you mount pushes your car deeper into the zombie horde.
All Articles
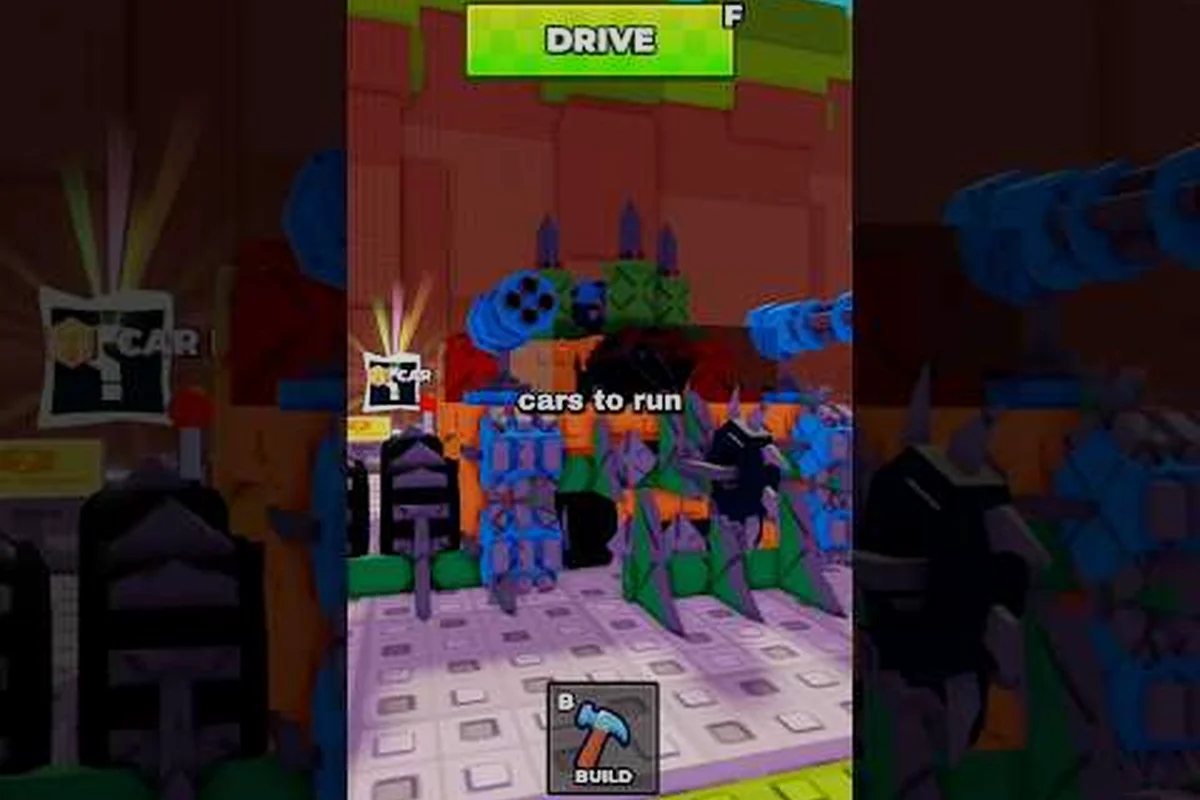
Build and Kill Zombies Car Tier List: Every Vehicle Graded
Sort every Build and Kill Zombies car tier list entry in the 2026 meta so you know which rigs to copy, rebuild, or skip for deeper runs.
Build and Kill Zombies Chassis: Engines, Wheels, Fuel
Pick the right Build and Kill Zombies chassis for your playstyle, then pair it with engines, wheels, and fuel blueprints that keep the build rolling strong.
Build and Kill Zombies Out of Fuel: Light Builds and Blueprints
Stop running dry with Build and Kill Zombies out of fuel fixes, including the Fast Furious and Blue Monster blueprint checklists for lighter, longer-lasting runs.
Build and Kill Zombies Vehicle Tab: Meta, Cheap Builds
Master the Build and Kill Zombies vehicle tab to upgrade parts on the fly, spot the current meta car, and piece together a cheap rig that clears early waves.