
Guides
Build and Kill Zombies guides covering the lobby loop, controls, fuel management and the first purchases that turn a short drive into a record run.
Introduction
Build and Kill Zombies is a Roblox survival sandbox from the group Zombie Car Crusher, and the first hour is where most players either find the loop or bounce off it. Every session opens in a shared lobby holding up to five players. You roll vehicle parts at the CAR PARTS machine, assemble them on your own plot in Build Mode, then press the green DRIVE button and push down a track that keeps spawning waves of zombies. Cash arrives from the distance you cover and the zombies you flatten, and it goes straight back into more rolls and permanent skills. Fuel rather than top speed is the real early ceiling, and a server-wide boss timer on the HUD keeps running while you drive. This section maps that loop end to end so your first runs pay for themselves.
First Run Checklist
| Phase | What to do | Why it matters | Common mistake |
|---|---|---|---|
| 1 | Roll a starter set at CAR PARTS, then claim the free chest by liking the game and joining the Zombie Car Crusher group | Gives you blocks, an engine, wheels and fuel before you have earned anything | Driving with the default car and never opening the chest |
| 2 | Enter Build Mode with B and place a chassis block, engine, wheels and fuel before touching weapons | A car with no fuel cannot complete a run no matter how fast it is | Spending every roll on weapons and leaving the tank empty |
| 3 | Press DRIVE, hold W to accelerate and note how far a starter car travels before the tank runs dry | Your first distance number is the baseline every later upgrade is measured against | Judging a build by top speed instead of total distance |
| 4 | Spend early cash on rolls rather than marginal stat upgrades | Better parts move a run further than a small stat bump on a weak car | Banking cash for an expensive skill while still rolling common parts |
Guide Topics
Beginner Walkthrough
The full lobby-to-record loop in the order the game actually presents it
Controls & Keybinds
B for Build Mode, W to drive, Q and E at the roll machines, and how each device changes the inputs
Lobby & Plot Setup
How a five-player server shares the lobby while every player builds on a private plot
Free Chest & Group Rewards
The one genuinely free payout in the game, and the two clicks that unlock it
Core Mechanics
The core loop is deliberately short. You roll, you build, you drive, you die or you beat your record, and you spend. Rolling happens at two machines with different pools: CAR PARTS produces vehicle pieces across four categories, while SUPPORTS produces the weapons and defensive pieces that bolt onto the chassis. Build Mode is a placement mode rather than a free-form editor, so every part snaps to a mounting point and orientation matters. A run begins the moment you press DRIVE and ends when the fuel gauge empties or when you break your previous distance record, at which point the run closes cleanly and your haul is banked. Distance pays continuously while zombie kills pay in bursts, which is why a weapon-mounted car earns while it travels. Nothing you rolled survives the run. Only the skill tree persists, and each skill rank must be bought in order before the next one unlocks.
Advantages
The loop is short enough that a failed run costs you two minutes rather than an evening, which makes experimentation genuinely cheap. Two separate roll pools keep decisions interesting: vehicle parts and support pieces compete for the same cash, so you are always choosing between going further and killing more. The free chest hands new players a real head start instead of a token reward, and the group join requirement means the payout is available within minutes of a first login. Because the skill tree is the only permanent progression, there is no wrong long-term investment - whatever you buy stays with the account forever, through every run reset. Five-player servers also mean a boss event is never far away, so the game always has something happening beyond your own distance record.
Challenges
Fuel is the early bottleneck and it feels like one: a starter car stops long before the run gets interesting, and the fix costs cash you do not have yet. The two roll pools split a small early income, so progress can stall if you spread spending evenly instead of committing. Weapon placement is unforgiving, and a mount fitted to the roof or rear may never touch a zombie, which reads as a broken weapon rather than a bad build. Most public documentation for the game is thin and partly unverified, so precise drop rates and boss mechanics are hard to confirm. Because parts reset every run, a bad roll streak can wipe out an hour of progress with nothing permanent to show for it beyond the skills you already owned.
Frequently Asked Questions
What should I do first in Build and Kill Zombies?+
Is there a working code for Build and Kill Zombies?+
How long does a single run last?+
Quick Tips
Claim the free chest before your first drive. Liking the experience and joining the Zombie Car Crusher group takes less than a minute and hands you a parts bundle that would otherwise cost several runs of distance income, which is the single best time-to-reward trade available to a new player. The first hour sets the pace for everything that follows, so start the loop deliberately rather than by accident.
Treat engine and fuel as one purchase, never two. An upgraded engine on a stock tank just reaches the empty mark faster, so buy the fuel capacity first and let the engine catch up, then judge the pair by total distance rather than by the top speed number on the stat card.
Fit weapons to the front face of the chassis. A support piece only connects with a zombie it physically touches, so a mount on the roof or the rear will often never fire and will look like a broken item instead of a placement mistake you can fix in Build Mode for free.
Featured
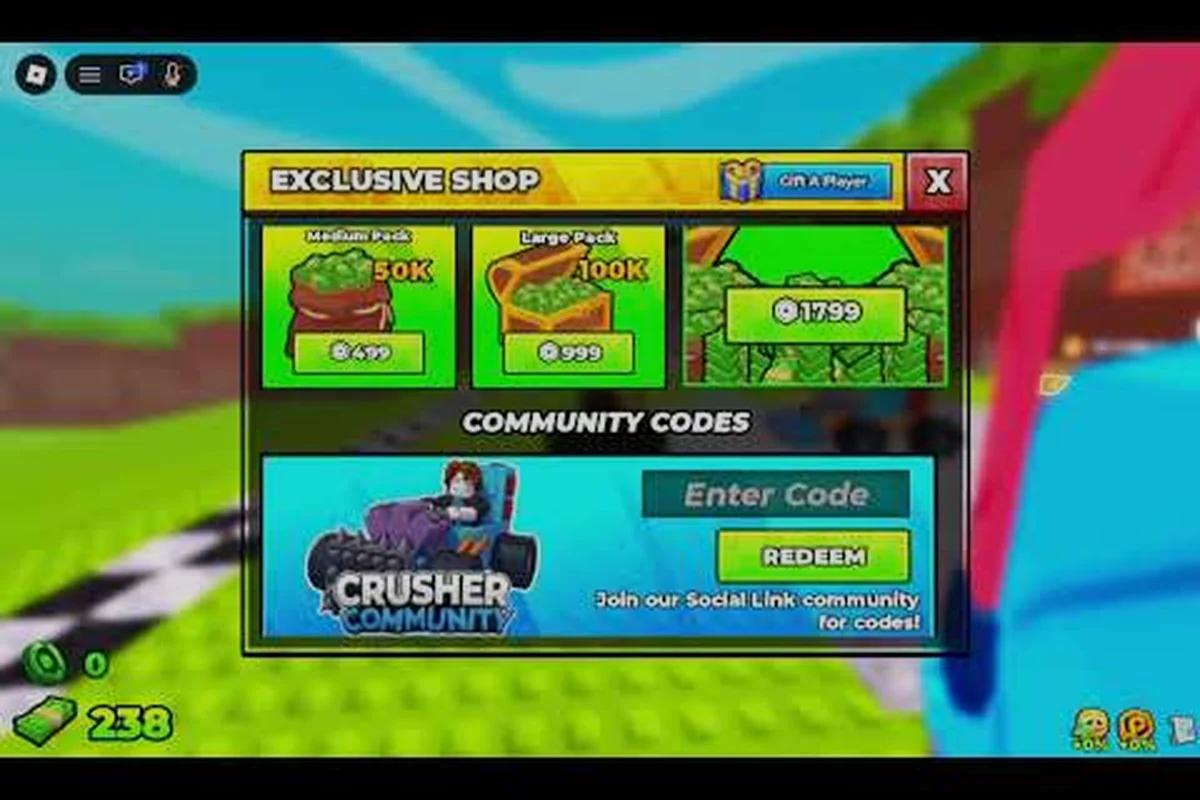
Build and Kill Zombies Beginner Guide: First Run Starter Tips
Start your Build and Kill Zombies beginner guide with the essentials: rolling parts, building a first rig, and the habits that keep runs alive.
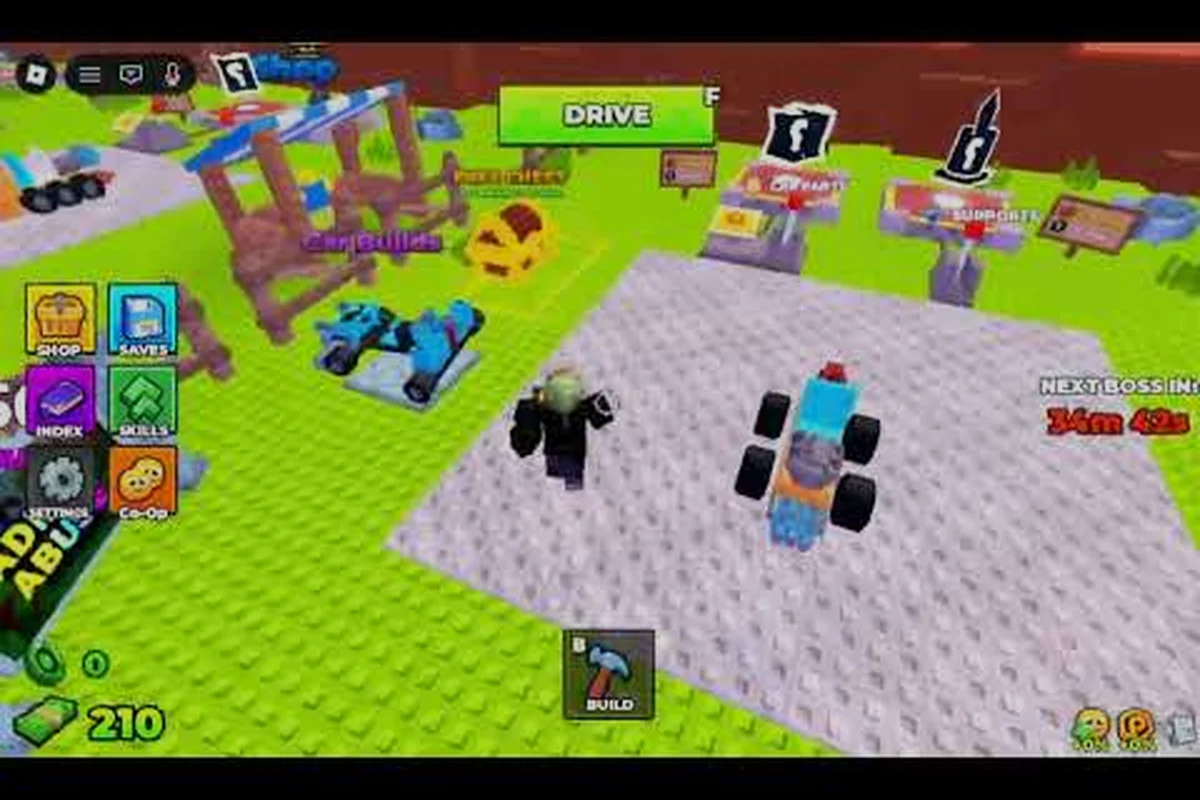
Build and Kill Zombies Best Settings: Drive, Steer, and Earn
Tune the Build and Kill Zombies best settings for smoother driving, tighter steering, and faster cash so every run pushes deeper into the horde.
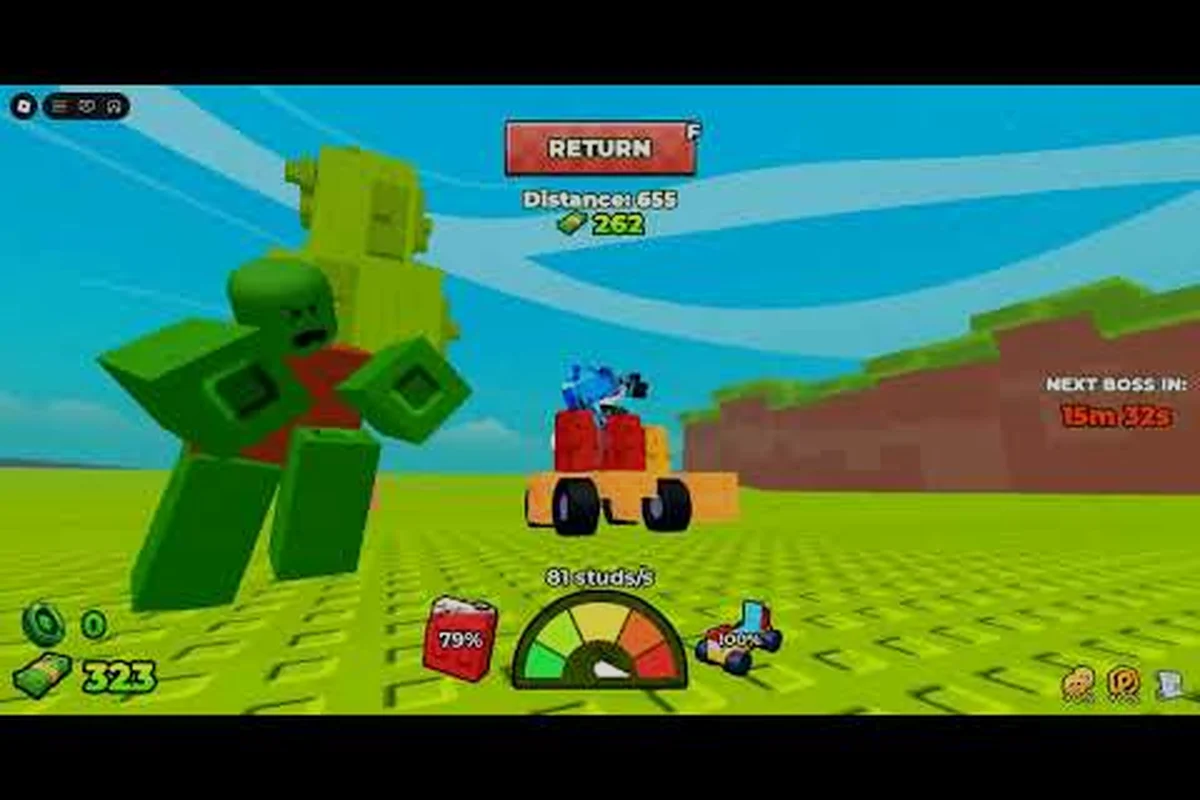
Build and Kill Zombies Guide 2026: Tips, Wiki, Updates
Open the Build and Kill Zombies guide 2026 with current Roblox tips, a fresh-player wiki overview, and the latest updates from the Zombie Car Crusher team.
All Articles
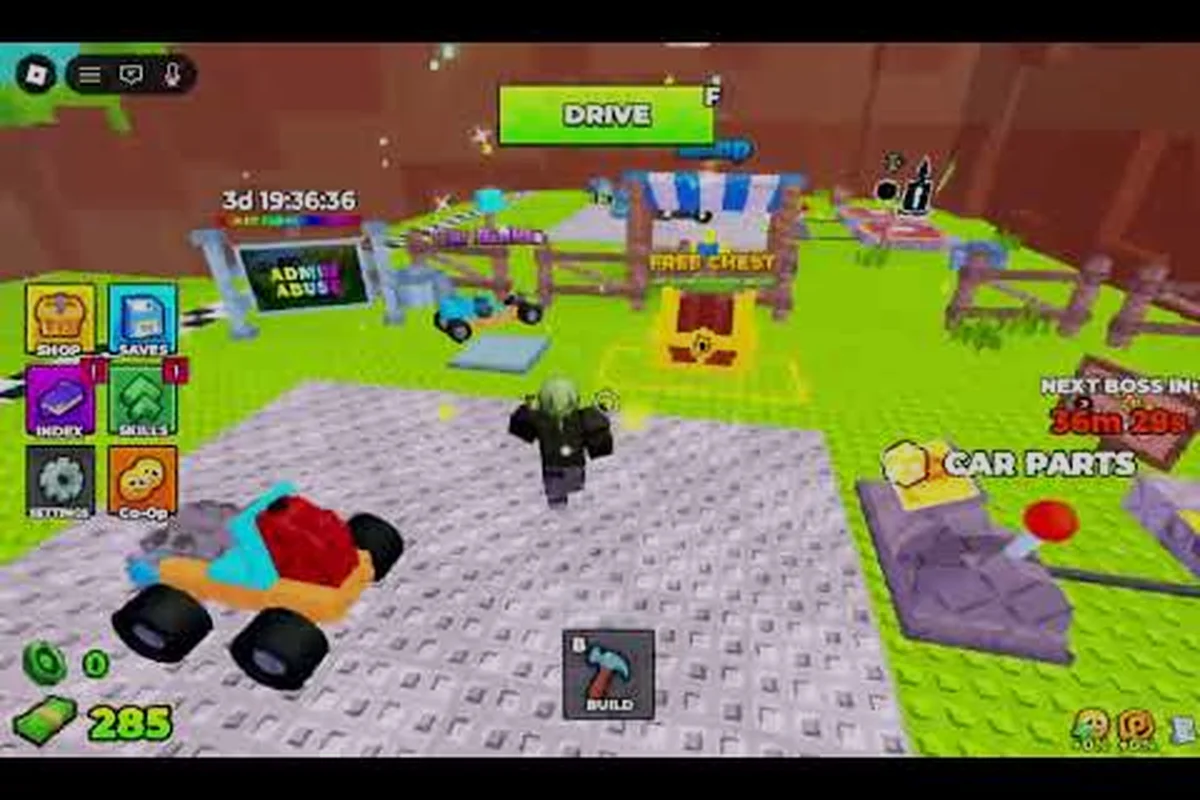
Build and Kill Zombies How It Works: Loop and Tips
Learn Build and Kill Zombies how it works — the roll, build, drive loop, plus beginner tips and common mistakes that cost new players their cash.
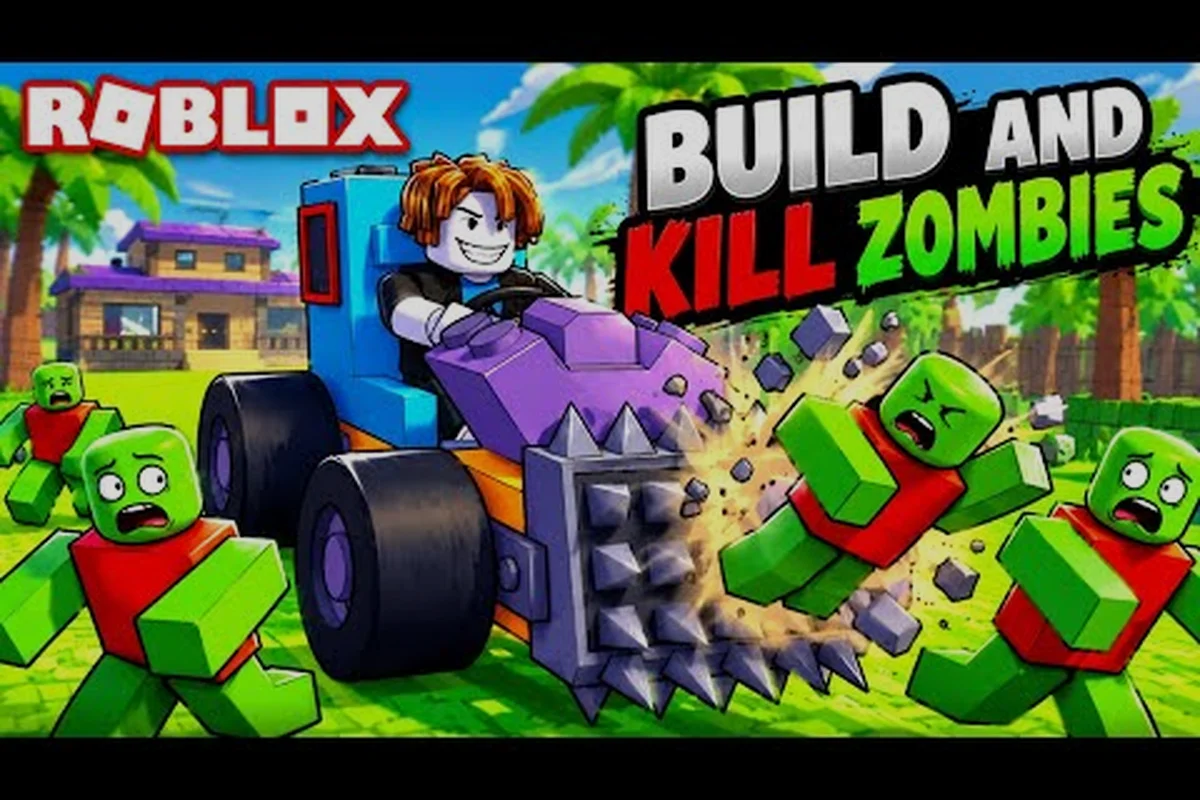
Build and Kill Zombies Game Rules: Runs, Refunds, and Survival
Learn the Build and Kill Zombies game rules that shape every run, including match length, survival basics, and the refund system that lets you rebuild.
Build and Kill Zombies How to Start: Controls and Servers
Get into Build and Kill Zombies fast with this how-to-start walkthrough covering mobile and console controls, joining friends, and spinning up a private server.
Build and Kill Zombies Lobby Guide: Claim, Roll, and Build
Step through the Build and Kill Zombies lobby guide from claiming a plot and rolling parts to assembling a working car ready for its first zombie run.
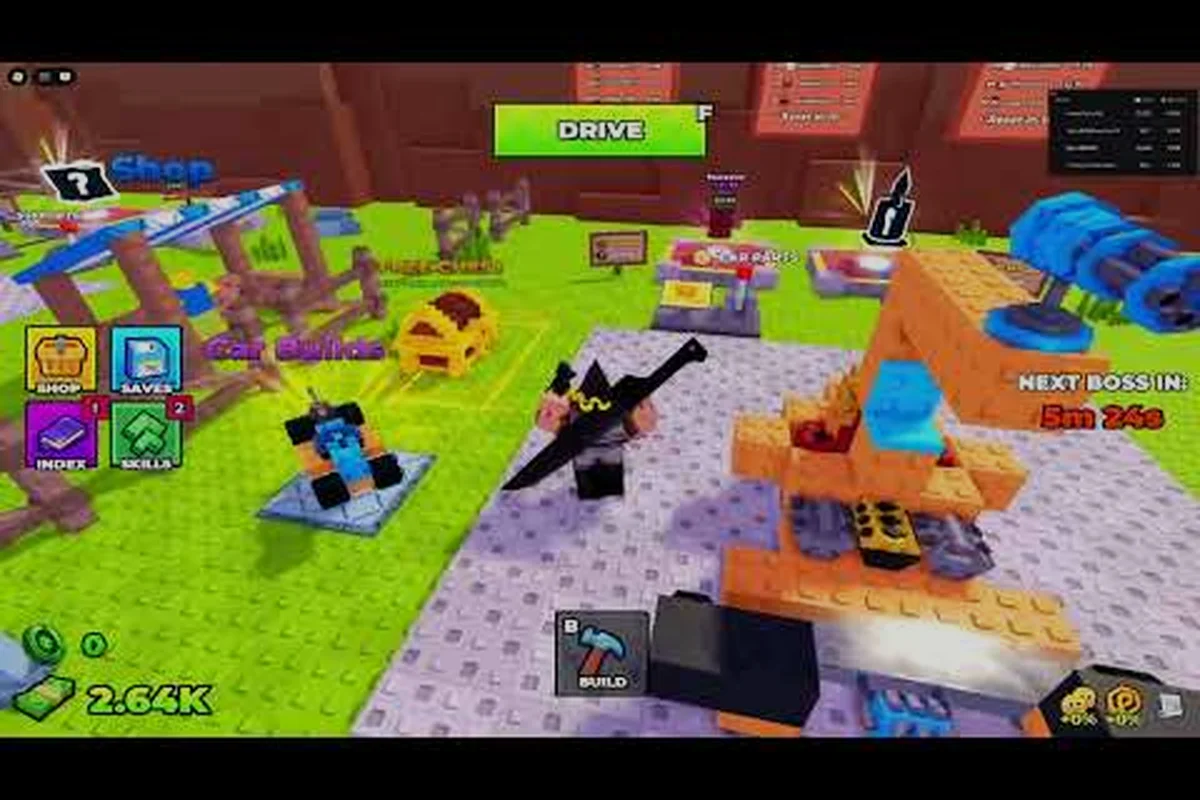
Build and Kill Zombies Tutorial: Controls and Keybinds
Follow this Build and Kill Zombies tutorial to lock in core controls, master PC keybinds, and start driving with real confidence on your very first run.
Build and Kill Zombies Walkthrough: Full Run From Lobby to Road
Step through the Build and Kill Zombies walkthrough covering the full gameplay loop and a clear solo vs co-op breakdown so you pick the right way to play.
Build and Kill Zombies How to Reset Progress and Wipe Data
Wipe your Build and Kill Zombies how to reset progress run clean, claim the free chest, join the group, and switch into solo mode without losing parts.