
Progression
Build and Kill Zombies progression guide covering the fuel bottleneck, distance records, wave scaling and the order that turns a short drive into a record run.
Introduction
A run in Build and Kill Zombies ends in one of two ways: the fuel gauge empties wherever the car happens to be, or you beat your previous distance record and the game closes the attempt cleanly with a record banner. Understanding that boundary is what separates a player who grinds from one who advances, because it defines exactly what you are buying with each upgrade. Progress in this game is not a level track. There is an early phase ruled entirely by fuel, a middle phase where engines and better supports stretch runs into the thousands of metres, and a late phase where zombie density scales with distance and weapon capacity becomes the limiting factor instead of range. Across all of it, only the skill tree accumulates permanently. This section maps the climb from a first short drive to a run worth bragging about.
Progression Stages
| Stage | The limit you hit | What fixes it | Milestone |
|---|---|---|---|
| First runs | Fuel runs out after a few hundred metres on a stock tank | Fuel capacity from CAR PARTS, then an engine to match | Beating your first distance record |
| Early game | Cash arrives too slowly to fund the parts that would raise it | Distance income reinvested into rolls rather than skills | First run past a thousand metres |
| Mid game | Zombie waves scale with distance and start stopping the car | More Support I plus a correctly mounted support piece | Car surviving a dense wave without slowing |
| Late game | Weight of a heavy chassis starts costing more distance than it returns | Rebalancing blocks and wheels, or moving to a blueprint layout | Comfortably out-earning your previous best |
| Endgame | Cheap upgrades are exhausted and only expensive ranks remain | Gold Roll I at the top of the tree plus epic and legendary rolls | Record runs measured against the server rather than yourself |
Progress Milestones
First Run
The baseline attempt that shows exactly how far a starter car travels on a stock tank
Distance Record
Beating your personal best ends the run cleanly and shows a record banner
Out of Fuel
The failure state that ends a run wherever the car stands, with no limp-home option
Wave Scaling
Zombie pressure rises with distance, shifting the limiting factor from range to damage
Unlocks
New parts and supports come from rolling, while permanent growth comes only from the tree
Core Mechanics
Progression in Build and Kill Zombies is defined by a hard reset. Every part and every support you roll is consumed when the run ends, so no amount of grinding accumulates a permanent car. What survives is the skill tree, and the cash that funded it. That creates two parallel tracks: within a run you are trying to convert rolls into distance and kills, and across runs you are trying to convert those earnings into permanent ranks that make the next attempt easier. The limiting factor moves as you climb. Early on it is fuel capacity, then the rate at which distance income can fund better parts, then zombie density as waves scale with how far you have travelled, and finally the weight penalty of a heavy chassis that has been loaded with weapons. Each stage has a specific fix, and buying the wrong one simply wastes a run's income.
Advantages
The two clear run-ending conditions give the game unusual clarity: you always know exactly why an attempt stopped, whether it was range or a new record. Because density scales with distance, the game keeps offering a new problem to solve instead of letting one strong build trivialise everything. The permanent skill tree guarantees that no session is wasted, since any cash you bank converts into something a later bad run cannot take back. The staged limiting factors also mean upgrades are never ambiguous - when a run ends early, the fix is usually a single obvious category rather than a spread of guesses. And because the record banner closes a run deliberately after a personal best, there is a natural moment to stop and bank the haul rather than pushing into a certain loss.
Challenges
The reset is absolute, so a run that ends badly leaves you with nothing but whatever cash it earned and the skills you already owned. Early progress is heavily gated by fuel, which is both the least interesting upgrade and the one you are forced to buy first. Wave scaling punishes distance gains that are not matched by damage, so a player who over-invests in range can find their new longer runs ending earlier than the old short ones in terms of useful income. The middle game can stall when parts and supports compete for the same cash and neither is clearly ahead. And because precise numbers for wave scaling and drop odds are not published, fine-tuning a build is guesswork rather than calculation.
Frequently Asked Questions
How far can you actually go in a run?+
What ends a run in Build and Kill Zombies?+
Should I play solo or in a group?+
Quick Tips
Change one variable per run so your record tells you something. Fuel, engine or supports - altering several at once makes a new distance meaningless, while a single change turns your personal best into a direct measurement of whether that upgrade actually helped. The limiting factor moves as you climb, so re-diagnose the bottleneck before spending anything at all.
Expect the limiting factor to move as you climb. Fuel rules the early game, income rate the middle, zombie density once waves scale with distance, and the weight of a loaded chassis at the end, so the upgrade that carried you last week is not necessarily the one you need now. The limiting factor moves as you climb, so re-diagnose the bottleneck before spending anything at all.
Bank cash into skills when a run stalls. Parts and supports vanish when the car stops while skill ranks never do, so any money that is not funding an immediate roll is safer parked in the permanent tree where a bad run cannot take it back. The limiting factor moves as you climb, so re-diagnose the bottleneck before spending anything at all.
Featured
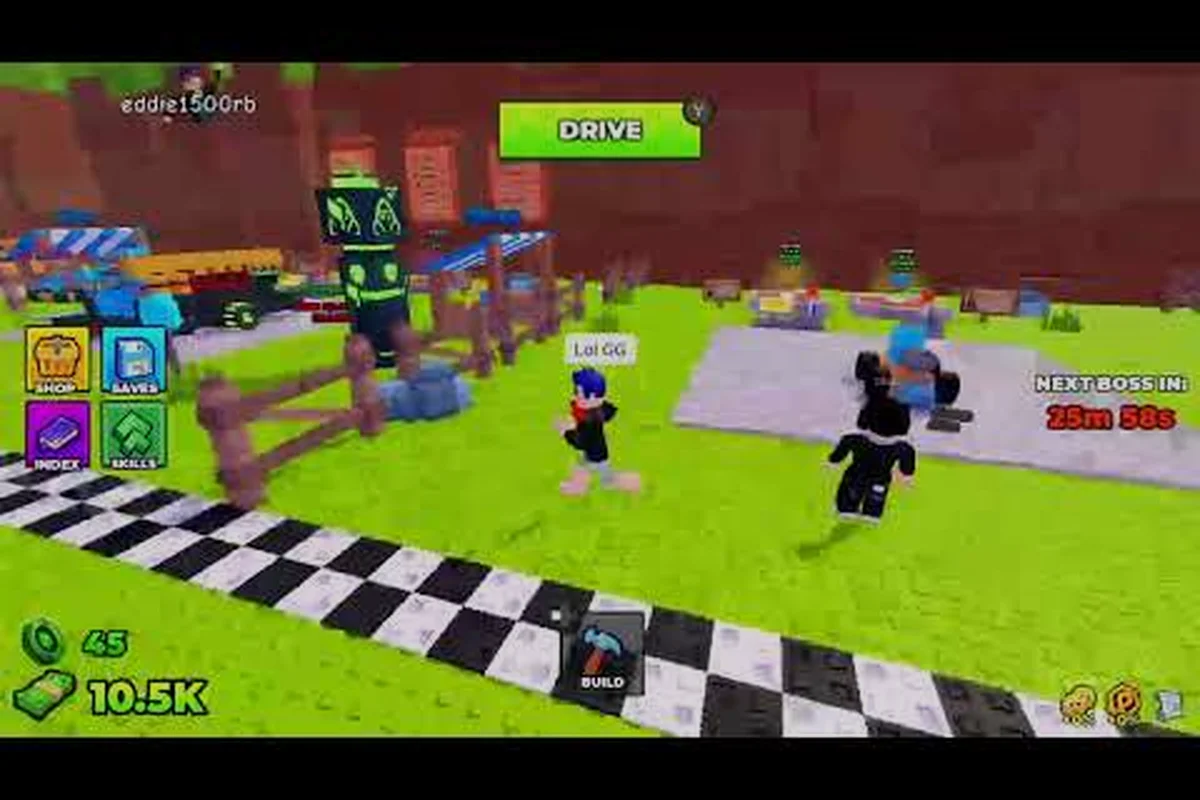
Build and Kill Zombies Early Game Guide: First Run and Mid Game
Map your Build and Kill Zombies early game guide from your very first run through mid-game power spikes, with starter tips that keep every stage moving forward.
Build and Kill Zombies Progression Guide: Milestones
Push your Build and Kill Zombies progression guide past the early wall with distance tips, longer survival habits, and milestones that keep every run climbing.
Build and Kill Zombies How Long to Max: 2026 Roadmap
Estimate your Build and Kill Zombies how long to max journey with 2026 progression data, record run benchmarks, and the unlock roadmap for every level you need.
All Articles
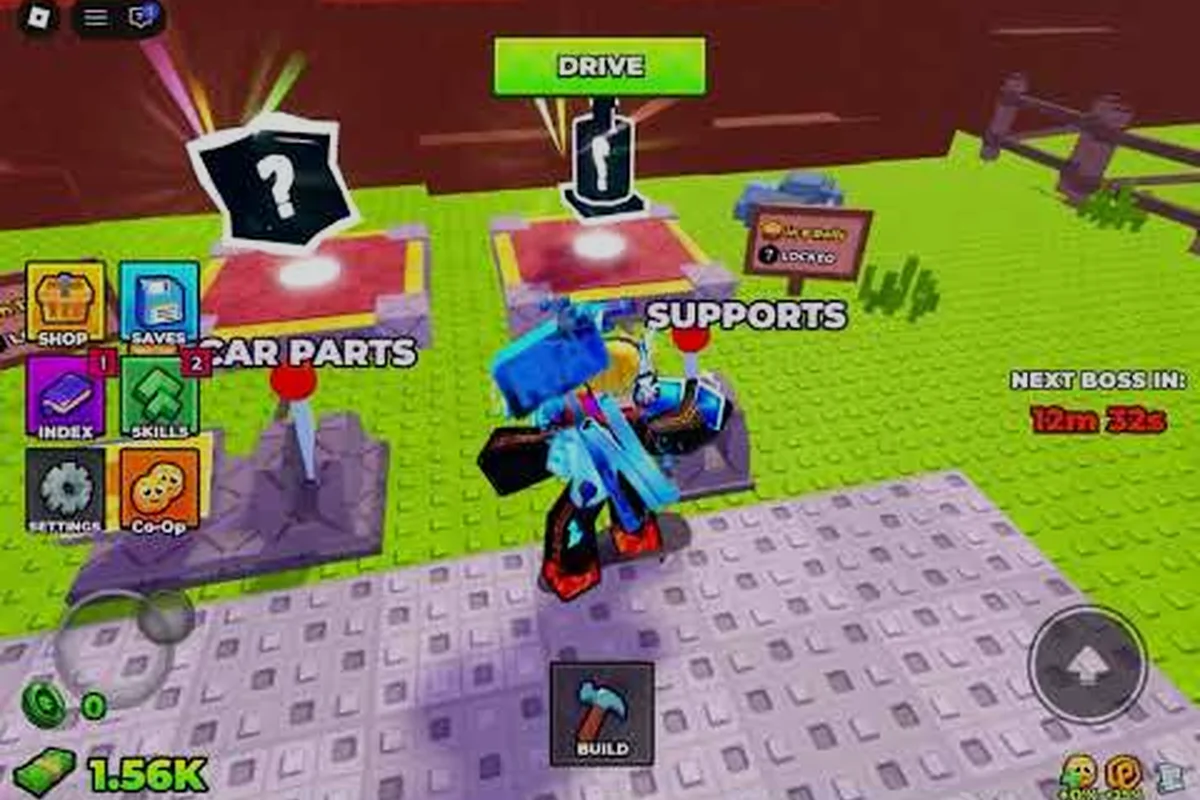
Build and Kill Zombies Max Distance: Run and Wave Guide
Push your Build and Kill Zombies max distance further by pairing the right fuel with a light chassis and reading wave spikes before they hit.
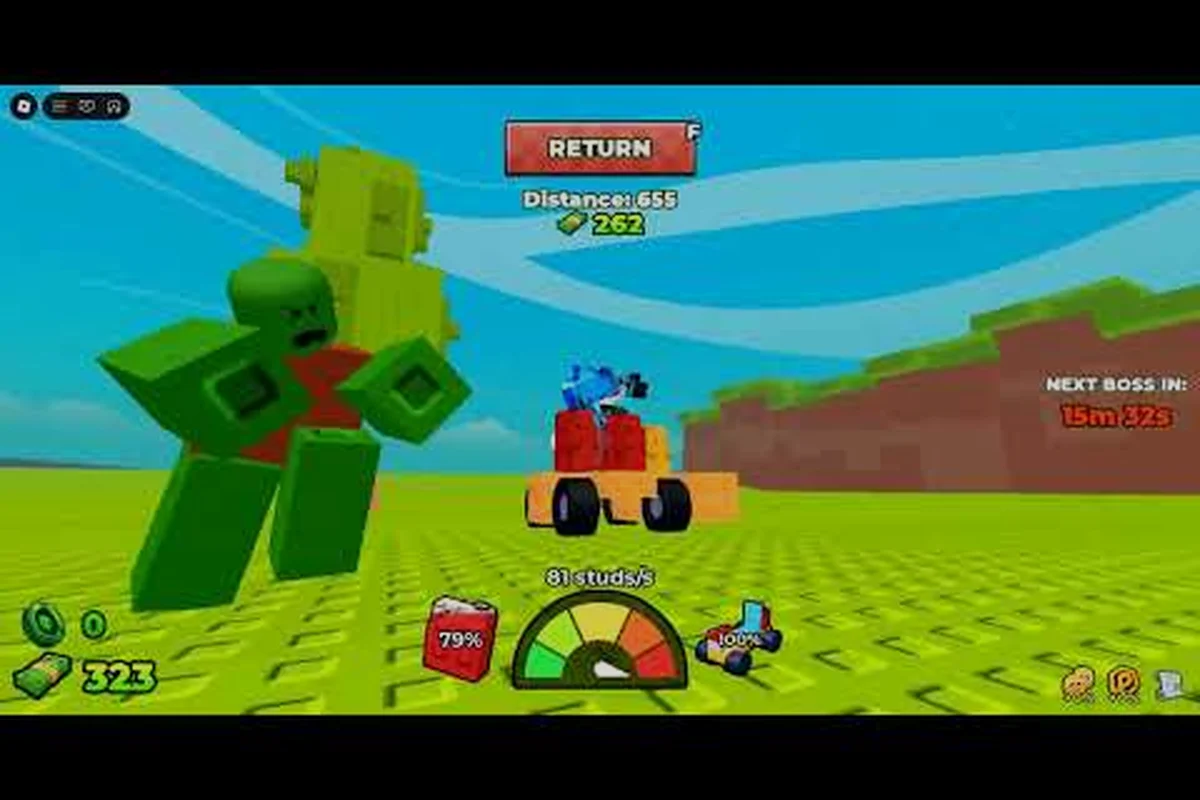
Build and Kill Zombies Upgrade Order: After First Run
Plan your Build and Kill Zombies upgrade order after the first run, lock in long-term account goals, and learn how resets shape the climb to max.
Build and Kill Zombies Endless Mode: Survive and Unlock All
Conquer the Build and Kill Zombies endless mode grind with survival loops, permanent strengthen routes, and the unlock checklist that lets you push past every wall.
Build and Kill Zombies Rank Up: Prestige and Rebirth
Climb the Build and Kill Zombies rank up ladder with prestige and rebirth strategies, endgame milestones, and a speedrun-minded plan that keeps the grind moving.