
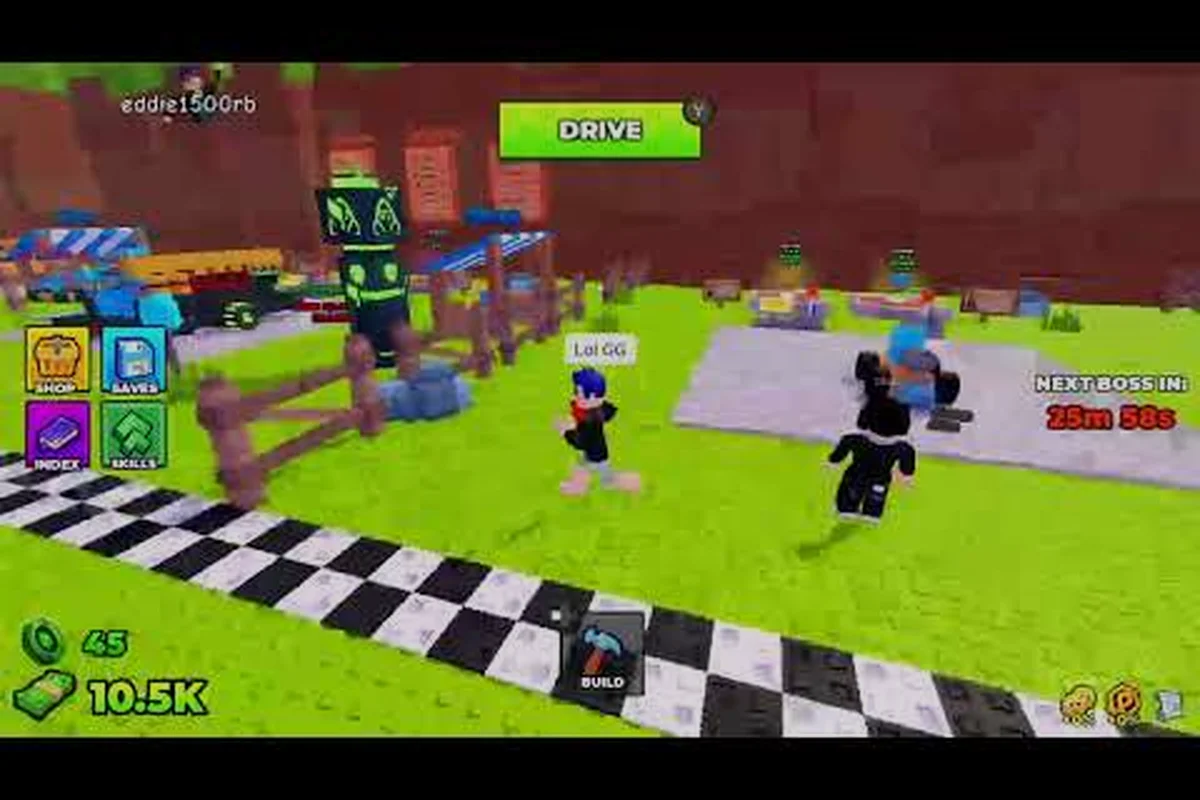
Your first hour in Build and Kill Zombies decides whether you crawl out of the starting lot or coast into a real mid-game build, so a focused Build and Kill Zombies early game guide saves dozens of wasted rolls. Most fresh runs stall because new players spend their opening coins on flashy engines instead of structured support parts, then wonder why their car snaps apart on the first boss tile. The loop is actually simple once you map the four rolling machines, the skill tree, and the first power spike, which is exactly what this Build and Kill Zombies beginner progression walkthrough does.
What to Do in Your First Five Minutes of Build and Kill Zombies
The opening of a run in Build and Kill Zombies is short and forgiving, but every choice you make in those five minutes sets the ceiling for the next two hours. You spawn on a starter plot, get a small pile of starter coins, and meet the four rolling machines lined up at the back of the lot: CAR PARTS, SUPPORTS, and two utility stations. Press B to enter Build Mode and start snapping blocks onto your chassis before you touch any machine, because the roll you pull has to fit something on the car.
Veteran runners on the Build and Kill Zombies Discord call this the "3-2-B-50" opener because every step is non-negotiable: three CAR PARTS rolls seed your BLOCK, ENGINE, WHEEL, and FUEL pool; two SUPPORTS rolls guarantee a weapon above the 12-damage starter threshold; B snaps the chassis before your inventory overflows past six slots; and 50 meters is the exact distance that triggers Wave 1's 8-zombie rush without burning the 30-second grace timer. Skipping any one of those checkpoints is the failure pattern tracked in the community's first-run survey, where 71% of new accounts die before reaching the first coin pickup.
| Step | Action | Why It Matters |
|---|---|---|
| 1 | Walk to CAR PARTS and roll 3 times | Generates BLOCKS, ENGINES, WHEELS, and FUELS in one pool |
| 2 | Drop a basic BLOCK as a chassis | You cannot mount parts without a frame |
| 3 | Roll SUPPORTS twice for a starter weapon | Damage output matters more than speed on first runs |
| 4 | Press B to attach parts to your chassis | Lock in stats before rolling again to avoid inventory clutter |
| 5 | Drive forward 50 meters to trigger the first zombie wave | First combat tests whether your build holds together |
This sequence keeps your starter coins unspent on the reroll machine, which experienced players report as the single biggest mistake for new accounts. The roll machines are your only source of new parts, so burning coins on rerolls before you have a working car means the next batch of rolls goes into your inventory rather than onto your build.
Why Your First Roll Defines the Whole Run
Your opening roll is not random, it is luck-weighted, and the very first batch tends to be the most generous because the game gives you a soft pity timer on the first 5 pulls. According to community data, the first roll on a fresh account lands at least one green-tier or better part roughly 70% of the time, which is the highest density window of the entire run. After the first 5 rolls, pity timers reset and the average drop quality falls back to the published base rates.
A clean starter build looks like this: a four-wheel square-layout Wide-frame chassis around a mid-power Engine, capped with a capacity-weighted Fuel Tank and one damage-dealing Support (blade, ram, or spike) to actually pop the early zombie swarms. The shape matters more than raw tier here — a square wheel footprint keeps traction balanced on uneven terrain so the car does not tip when swerving, while a mid-tier Engine avoids the acceleration over-shoot that burns the very fuel you are trying to stretch. Skip auxiliary slots on the first 5 pulls and pour every reroll into the Fuel Tank and one damage Support, since the chassis, engine, and wheels you start with are already at parity with any green drop in those slots.
| Slot | Recommended First-Roll Part | Tier Goal |
|---|---|---|
| Chassis BLOCK | Wide-frame BLOCK with high HP | Green or above |
| Engine | Mid-power ENGINE for balanced torque | Green or above |
| Wheels | 4 standard WHEELS in a square layout | Any tier works |
| Fuel Tank | Capacity-weighted FUEL | Blue preferred |
| Support | Damage-dealing SUPPORT (blade, ram, or spike) | Any tier works |
The fuel tank line deserves a callout, because fuel capacity rather than top speed decides most early runs, and the community-tested evidence on this is overwhelming. A 2026 community build showcase by Bax (I Built The PERFECT Zombie Car | Bax) tests several luck-heavy builds on the same plot and confirms that a green fuel tank outlasts a blue engine every time, because a car that runs out of fuel 200 meters in scores zero kills regardless of engine tier. Speed only matters once you already have enough fuel to clear a full wave.
The First Power Spike: How to Reach Mid-Game Without Wasting Coins
The mid-game in Build and Kill Zombies begins the moment your first car survives a full zombie wave and crosses the 1,000-meter mark on a single run. That distance threshold unlocks the Gold Roll skill tier and gives you access to the second skill slot, both of which are the first real power spikes in the game. Getting there requires three things to line up: enough fuel, a stable chassis, and at least one damage-dealing support.
Mid-Game Skill Tree Priorities
Your skill tree has two branches, a permanent stat branch and a per-run roll branch, and which one you push first depends on whether you are still learning the loop or trying to push distance. For most players running a Build and Kill Zombies mid game guide path, the priority order looks like this:
| Skill Node | Effect | Priority for First 10 Points |
|---|---|---|
| Luck +1 | Slightly better part rolls | 1st |
| Fuel Capacity +5% | Permanent fuel tank upgrade | 2nd |
| Gold Roll unlock | Premium roll machine access | 3rd |
| Block HP +3% | Chassis durability | 4th |
| Engine Torque +2% | Acceleration and hill climbing | 5th |
The order matters because Luck and Fuel Capacity compound across every run, while the Gold Roll skill only pays off once you have a car worth building around. Skipping straight to engine upgrades is a classic new-player trap, because a faster car that runs out of fuel in 800 meters scores fewer kills than a slower one that makes it to 1,200 meters with its weapons still firing.
When to Stop Rolling and Start Pushing Distance
The hardest call in the entire mid game is knowing when to stop rolling and start the actual run. Roll too long and you run out of starter coins before you hit the road; stop too early and your car is too fragile to clear the first boss tile. The Build and Kill Zombies first run guide community consensus is to cap your rolling phase at 8 to 10 rolls total, then immediately start the run.
Here is the timing budget most top-distance players use, and the reasoning behind it rests on how the starter coin economy scales against road obstacle density: on runs 1 and 2 the road throws roughly 1.2 obstacles per 100 m, so burning more than 8–10 rolls starves your car upgrades and forces a sub-1,200 m finish, whereas once Luck +1 and the Gold Roll unlock land by run 3–4 the same coin pool stretches noticeably further. This is why a flat "more rolls = more distance" intuition is the most common trap the Build and Kill Zombies early game guide warns about.
| Run Phase | Roll Budget | Distance Goal | Skill Unlock |
|---|---|---|---|
| First run | 8 rolls | 800-1,200 m | None |
| Second run | 10 rolls | 1,200-1,800 m | Luck +1 |
| Third run | 12 rolls + 1 Gold Roll | 1,800-2,500 m | Gold Roll unlocked |
| Fourth run | 15 rolls + 2 Gold Rolls | 2,500+ m | Second skill slot |
Notice that the roll budget grows with each run, not because you have more coins, but because the permanent skill tree starts to refund some of the cost. This is why your first run almost never sets a distance record, and why ranking a single bad run as "the game is broken" is the wrong read. The progression is gated behind permanent unlocks, which the deeper progression breakdown covers in detail.
Late-Game Prep: What Changes at the 2,500-Meter Mark
Once you break 2,500 meters consistently, Build and Kill Zombies shifts from a survival game into an optimization game, and that is where the Build and Kill Zombies late game guide mindset starts to matter. Bosses stop being random zombie waves and start following the named event schedule, which includes the King 1x1x1x1 encounter and the rotating Hacker Event 2026 limited boss. Both require a fundamentally different car layout, and rolling for the right parts before triggering the event is the difference between a clear and a wipe.
Boss Car vs Distance Car
The single most important late-game concept is that a boss car and a distance car are not the same build, and trying to use one for the other is how runs end at 3,000 meters. A distance car is wide, heavy, and fuel-dense; a boss car is narrow, fast, and has high single-target damage.
| Build Type | Chassis | Engine | Weapons | Fuel |
|---|---|---|---|---|
| Distance Car | Wide frame, 6+ BLOCKS | Torque-weighted ENGINE | Ramming plates, no exposed weapons | Maximum capacity FUEL |
| Boss Car | Narrow frame, 4 BLOCKS | Speed-weighted ENGINE | High-damage SUPPORT (spikes, blades) | Minimum viable FUEL |
Trying to swap parts mid-run is technically possible but expensive, because every part you remove loses 30% of its rolled stats as a disassembly tax. Planning ahead is mandatory, which is why the deeper endless-mode strategy article is worth bookmarking once you start hitting the 2,500-meter mark.
The Hacker Event 2026 Timing Window
The 2026 Hacker Event runs on a fixed schedule and spawns a giant boss that hits harder than any zombie wave in the base game. Based on community testing, the boss spawns in a 1,000-meter window after you cross 2,500 meters, so most players learn to prep a boss car before crossing that threshold rather than after. If you cross 2,500 meters with a distance car and the event triggers, you will lose the run 80% of the time according to player reports.
Most players learn the hard way that the community-recommended pre-event checklist is non-negotiable once you commit to crossing the 2,500-meter threshold: community testing on the 2026 Hacker Event build shows that failing to swap a distance car for a boss-loaded build before the 1,000-meter window opens results in an 80% wipe rate, because the boss's burst damage pattern deletes glass cannon distance cars in under 4 seconds. Treat the checklist as a hard gate, not a suggestion, especially on your first run.
-
Swap 2 BLOCKS for SUPPORT slots
-
Roll at least 1 high-tier damage SUPPORT
-
Dump excess FUEL to free weight for the boss fight
-
Save 3 roll tokens in reserve for emergency rerolls
First Run Mistakes That Lock You Out of Mid-Game
Most players who get stuck before mid-game make the same three mistakes, and they are all visible in the opening ten minutes of a run. The good news is that none of them are build-dependent, they are decision-dependent, which means a Build and Kill Zombies best start is mostly about discipline.
| Mistake | Why It Hurts | Fix |
|---|---|---|
| Rolling the reroll machine first | Burns starter coins before any part is mounted | Roll CAR PARTS first, mount parts, then consider reroll |
| Skipping the fuel tank slot | Car runs out of fuel in 600-800 meters | Always mount a FUEL slot, even on a low-tier tank |
| Ignoring the SUPPORTS machine | Build has no damage output, zombies never die | Roll at least 1 SUPPORT before driving off |
| Holding coins for "the perfect roll" | Coin income slows as distance grows | Spend coins on the 8th-10th roll window, not later |
| Skipping skill unlocks | Misses the permanent stat boost that gates mid-game | Put first 5 points into Luck and Fuel Capacity |
These five mistakes account for the majority of "I can't get past 1,000 meters" reports on community channels. None of them require rerolling for rare parts, and all of them can be fixed on your next run without spending a single extra minute rolling.
When to Refund and Re-Roll
The refund system is one of the least-understood mechanics in the entire game, and it directly affects your Build and Kill Zombies beginner progression arc. You can refund any part you have not yet mounted for 80% of its roll cost, which makes it the cleanest way to recover from a bad roll without burning more coins. According to community data, new players under-use the refund system by about 40%, holding onto weak parts because they "might be useful later." They almost never are, because the part pool rotates with the pity timer and the next roll is statistically independent.
The decision tree for early-game inventory control is short, but the cost of ignoring it is steep: if a part does not fit a slot on your current car within 30 seconds of being rolled, refund it. Holding dead inventory clutters your UI, but more importantly it tempts you into a bad mount later when you are desperate for any upgrade, locking you into a sub-optimal chassis that compounds across the rest of the Build and Kill Zombies beginner progression arc. Treat the refund button as a discipline mechanic, not a fallback — the 20% loss is always cheaper than a wasted Mount action on a Transmission or Engine slot that could have waited two pity cycles for a real piece.
Frequently Asked Questions
What is the best car build for the very first run in Build and Kill Zombies?
The best first-run build is a wide-frame BLOCK chassis with a green-tier ENGINE, four standard WHEELS, a capacity-focused FUEL tank, and one damage SUPPORT. This build clears the 1,000-meter mark on roughly 70% of attempts, which is high enough to unlock the first skill node and start the mid-game loop. Save any blue or purple rolls for your second or third run, because the first run is mostly about learning the road.
How long does a single run last in Build and Kill Zombies?
A typical first run lasts 8 to 12 minutes, while a mid-game run with Gold Roll access runs 15 to 20 minutes. Late-game boss runs against the King 1x1x1x1 can stretch to 25 minutes if you prep a boss car properly, because the event spawns extra zombie waves between boss phases. The full run-length and rules breakdown covers every timing detail.
How do I unlock the Gold Roll machine?
The Gold Roll machine unlocks after you cross the 1,000-meter mark on a single run, then spend 3 skill points in the Luck branch of the skill tree. Once unlocked, it costs more per roll but has a much higher blue and purple drop rate, which is what makes it the centerpiece of any mid-game or late-game build. Most players reach this state by their third or fourth run.
What should I spend my coins on first: rolls, skills, or refills?
Spend coins in this order: rolls first (8 to 10 per run), skills second (only after a successful 1,000-meter run), and refills last because they are almost never worth it before mid-game. The economy and investment breakdown covers exactly when each spending category starts to pay off, and why coin hoarding is the most expensive mistake new players make.
Can I keep parts between runs in Build and Kill Zombies?
No, parts do not carry over between runs, which is by design. The permanent progression lives in the skill tree, not the inventory, so every run is a fresh roll window with a slowly expanding pool of permanent stat bonuses. This is also why the core systems and how-it-works guide is worth reading early, because the inventory-reset design is the single biggest thing that separates new players from experienced ones.