
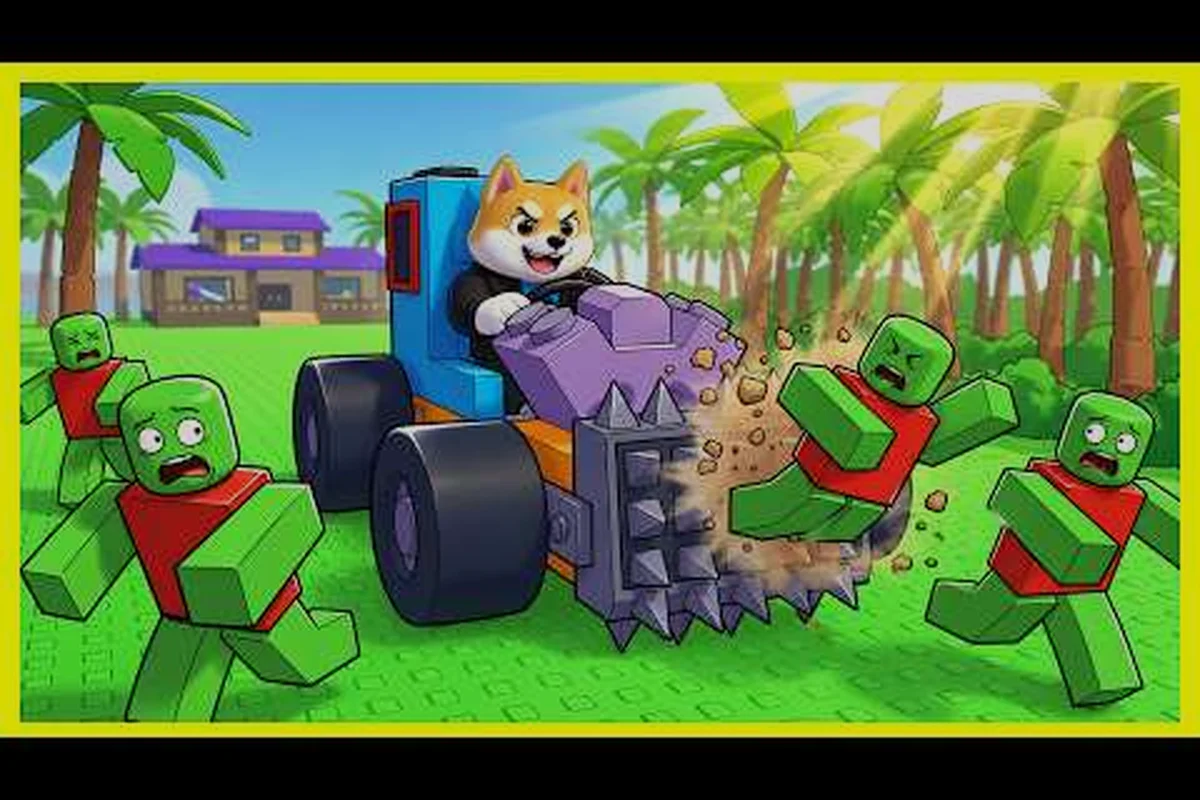
Running out of fuel mid-run in Build and Kill Zombies is the single most common reason a clean run collapses into a stranded wreck. Lighter cars sip fuel instead of gulping it, which is why a focused build and kill zombies out of fuel strategy pairs perfectly with the game's blueprint system. Players chasing the Fast Furious and Blue Monster checklists quickly discover that lighter, smarter part placement is the difference between clearing a wave and watching the engine sputter out in the middle of a horde. This guide breaks down exactly why fuel drains, how to read the game's blueprint requirements, and the build and kill zombies light car build philosophy that keeps you rolling deeper into each round.
Why Cars Run Out of Fuel in Build and Kill Zombies
Fuel in Build and Kill Zombies is a per-run resource that depletes based on engine power, vehicle weight, and the type of wheels you mount. Heavier blocks increase drag, which forces the engine to burn more fuel per second just to maintain cruising speed. Players who stack big armored blocks across the chassis without considering the trade-off will notice the gauge drop dramatically faster than players running a slim frame.
According to community data shared across Roblox threads, the average medium car build empties its fuel tank somewhere between wave 8 and wave 12 on a standard plot. The fastest way to push that window further is to reduce rolling resistance, which is controlled almost entirely by the wheel choice and the number of grounded contact points. A clean build and kill zombies light car build keeps the wheelbase tight and the chassis as flat as possible to avoid unnecessary drag.
| Fuel Drain Factor | Impact on Tank | Easy Fix |
|---|---|---|
| Heavy block density | Drains 2-3x faster | Swap to lightweight frame blocks |
| Large engine tier | Burns fuel quickly under load | Match engine to car weight |
| Wide wheelbase | Increases rolling resistance | Use 4 small wheels over 6 large ones |
| Mounted weapons at the rear | Adds dead weight | Move supports to the front |
The game's CAR PARTS and SUPPORTS rolls both contribute parts to the build, and the BLOCKS / ENGINES / WHEELS / FUELS UI categories each pull from a separate pool. Players who understand this can deliberately reroll their FUELS slot to chase better tanks, while leaving the other slots untouched. As one player put it in a viral run that was shared on YouTube, "I stopped chasing big engines and started chasing light wheels; that's when my runs started lasting." That clip, titled "Build and Kill Zombies ... quite funny," shows how a poorly balanced build goes from confident to stranded in seconds once the fuel hits zero.
The official Build and Kill Zombies page on Roblox confirms the part-category system in the game's About section, listing CAR PARTS, SUPPORTS, BLOCKS, ENGINES, WHEELS, and FUELS as the core build tabs. Understanding the four wheel categories matters because each tier of wheel changes the fuel-to-speed ratio in a different way. Smaller wheels are lighter but slower, while the largest wheels are heavy enough to require an upgraded engine just to keep moving.
Reading the Blueprint System and What Blueprints Actually Require
Blueprints in Build and Kill Zombies are step-by-step part lists that unlock cosmetic rewards and bonus rolls when completed. The build and kill zombies blueprint checklist system breaks every blueprint into discrete part slots, and the game tracks each slot independently. That means you can complete three out of five slots on the Fast Furious blueprint without finishing the blueprint itself, and your progress carries over between sessions.
For players learning build and kill zombies how to complete blueprints from scratch, the most important rule is that the part category matters more than the specific part. If a blueprint calls for a "front support," any front-mounted support piece counts toward the slot, not just the exact model shown in the preview. This makes the system more forgiving than it first appears, but it also means that a reckless part placement habit can quietly block progress for hours.
Fast Furious Blueprint Checklist
The Fast Furious blueprint rewards a speed-oriented build with a cosmetic wrap and a small Luck bonus on the next roll. Players chasing the build and kill zombies fast furious blueprint need to hit five specific part categories without overloading the frame. The checklist below is what experienced runners use to clear the blueprint in a single coordinated run rather than stumbling into it across several sessions.
| Slot | Required Part | Placement Tip | Common Mistake |
|---|---|---|---|
| 1 | Lightweight engine | Center of chassis, low to the ground | Mounting a heavy engine on the roof |
| 2 | Small front wheels (x2) | Front axle only | Using medium wheels because they "look cooler" |
| 3 | Front support | Mounted on the nose | Mounting on the side (deals no damage) |
| 4 | Light block frame | Build a flat chassis | Stacking blocks vertically |
| 5 | Compact fuel tank | Low and centered | Hanging a tank off the back bumper |
Players who already understand the value of a light car build approach will notice that the Fast Furious checklist is essentially a light car build template in disguise. The blueprint doesn't ask for any heavy tier parts, which is why it's the most reliable entry point for players still learning the build and kill zombies best blueprint priorities.
Blue Monster Blueprint Checklist
The Blue Monster blueprint is the next step up, requiring a sturdier but still fuel-friendly build. The build and kill zombies blue monster blueprint adds a fourth wheel slot and a heavier front support, which raises the durability threshold without immediately torching the fuel gauge. This blueprint is the natural follow-up once the Fast Furious run is fully completed.
| Slot | Required Part | Placement Tip | Common Mistake |
|---|---|---|---|
| 1 | Medium engine | Mounted mid-chassis | Putting it on top of the frame |
| 2 | Four small-to-medium wheels | Symmetric layout | Mixing small and large wheels |
| 3 | Reinforced front support | Forward-facing, no side mounts | Mounting the same support twice |
| 4 | Mixed block frame | Balance of light and medium | All-medium blocks (too heavy) |
| 5 | Upgraded fuel tank | Centered, shielded by blocks | Placing the tank exposed at the rear |
The Blue Monster blueprint is where most players first hit the build and kill zombies out of fuel wall, because the medium engine has a noticeably higher idle draw than the lightweight engine from the Fast Furious run. The fix is straightforward: drop one medium block from the chassis and add a small block to the front to balance the weight. According to community testing, that single swap can extend a tank's life by roughly 20 percent on a standard run.
The Light Car Build Philosophy: How to Stop Burning Through Fuel
A build and kill zombies light car build is not about stripping the car down to almost nothing. It's about ensuring every part on the frame earns its weight. The biggest fuel drain in most early cars is dead weight: blocks mounted on the roof, weapons scattered on the sides, and oversized wheels that don't match the engine. The philosophy is simple, but applying it consistently takes a few runs of deliberate practice.
The first principle is to mount supports only on the front of the vehicle. Players who scatter weapons and defensive supports across the sides of the car often believe they're building a "360-degree defense," but the game only registers damage from forward-facing parts. That means every side-mounted support is dead weight that burns fuel without contributing to kills. The viral clip referenced earlier shows exactly this failure mode: a car covered in side supports, slowly running dry while zombies walk straight through the untouched flanks.
Part Placement Priorities
Part placement is the second-largest lever after wheel choice, and the vehicle tab overview walks through how the placement system actually works in Build Mode. Press B to enter Build Mode, then use the snap grid to align parts along the front-facing axis. Anything that doesn't face the direction of travel should be questioned, because sideways or backward mounts add fuel cost without adding combat value.
-
Mount all offensive supports on the nose of the chassis, pointing in the direction of travel
-
Place the fuel tank low and centered so it sits below the engine block
-
Keep the wheelbase as short as the blueprint allows; wider is not always better
-
Use small or medium wheels whenever the blueprint doesn't require large ones
-
Reserve heavy blocks for the front bumper only; the rear can stay light
Engine and Wheel Pairing
The third principle is to match the engine tier to the wheel tier. A heavy engine on small wheels burns fuel faster because the engine is constantly working against the wheel's grip limit. A lightweight engine on large wheels burns fuel faster because the wheels create drag the engine can't overcome. The sweet spot is engine and wheels in the same tier, with the chassis tuned to keep the total weight under the next tier's threshold.
| Build Profile | Best Engine | Best Wheels | Expected Fuel Use |
|---|---|---|---|
| Speed / Fast Furious | Lightweight | Small | Lowest drain |
| Balanced / Blue Monster | Medium | Small-to-medium | Moderate drain |
| Heavy / Boss Killer | Heavy | Large | High drain |
Players chasing the build and kill zombies best blueprint completion across multiple categories will end up running all three profiles at different times. The trick is to recognize which profile the current run needs and commit to it, rather than blending parts from different tiers into a single incoherent build.
Step-by-Step Run Plan: From First Roll to Blueprint Completion
Putting this all together requires a repeatable sequence that any player can follow on their next session. The plan below assumes a fresh roll, a medium plot, and a goal of completing either the Fast Furious or the Blue Monster blueprint without running out of fuel before the final wave. It also assumes the player has access to the basic roll skills and at least one reroll available.
Stage 1: First Three Rolls (Waves 1-3)
Roll on CAR PARTS first, then SUPPORTS, then CAR PARTS again. The goal in this stage is to land at least one light block, one small wheel, and one front-facing support. According to community data, hitting all three on the first set of rolls happens roughly 40 percent of the time, and the reroll is usually enough to push that higher. Do not engage any boss during this stage; the goal is to get the parts on the chassis, not to fight.
Stage 2: Chassis Assembly (Waves 4-6)
Enter Build Mode and lay down a flat chassis using the light blocks you rolled. Mount the small wheels symmetrically across two axles, then attach the front support to the nose. Drop the lightweight engine into the center of the chassis, low and flat. At this point, the car should look like a stretched pancake, which is exactly right. Players who want a fuller walkthrough of Build Mode can reference the lobby and plot guide for context on how the build and run cycle actually works in the lobby.
Stage 3: Blueprint Verification (Waves 7-9)
Check the active blueprint progress on the side panel after each wave. The Fast Furious blueprint usually hits completion around wave 7 if the chassis was assembled correctly. The Blue Monster blueprint takes longer because the medium engine slot is harder to land; expect wave 9 as a realistic target. If a slot still isn't completed by wave 9, the next roll is the best place to fix it.
Stage 4: Fuel Management (Waves 10+)
By wave 10, the fuel gauge becomes the most important number on the screen. The single best habit is to stop sprinting the car during calm stretches and let the engine idle. Players who learn to coast between waves instead of holding the throttle can extend their final run by two to three waves, which is usually enough to finish the blueprint and pick up the bonus roll reward. Tuning the controls to make this easier is covered in the best settings for driving and steering walkthrough, which includes a specific section on throttle sensitivity.
Advanced Tips for Blueprint Chasers
Once the basic run loop is reliable, the next layer of optimization is to stack Luck and use the Gold Roll skill strategically. Both come from the skill tree, and both directly affect how quickly blueprint slots can be completed. Luck influences the rarity of parts in the next roll, while Gold Roll is a premium skill that lets the player pull from a higher-tier pool when needed.
Players who reach the end of the skill tree can also unlock the heavy car build path, which is the natural counterweight to the light car approach. A heavy car build is fuel-hungry but is required for the King 1x1x1x1 boss fight during the Hacker Event 2026, because the boss deals enough damage to one-shot a light frame. Knowing when to switch profiles is part of long-term progression, and the light car build is the foundation that makes the heavy build feel different by contrast.
The final piece of advice is to treat every failed run as data. If the car runs out of fuel on wave 11, check the build against the table above and identify which category is overweight. The fix is almost always in one of three places: the engine tier, the wheel size, or the block density on the rear. Running the same blueprint twice in a row with a small tweak between attempts is the fastest way to learn what actually moves the fuel needle, and it builds the muscle memory that separates a one-off blueprint clear from a player who can reliably complete every blueprint the game offers.
Frequently Asked Questions
Why does my car run out of fuel so fast in Build and Kill Zombies?
Heavy blocks, oversized wheels, and a mismatched engine tier are the three main reasons. Drop one tier of block, swap to smaller wheels, and make sure the engine matches the chassis weight, and the tank will last several waves longer on average. The build and kill zombies out of fuel problem almost always traces back to weight, not to a bad fuel roll.
What is the best blueprint to chase first as a new player?
The Fast Furious blueprint is the best first target because every part is light, the build slots are forgiving, and the bonus Luck roll speeds up every future blueprint attempt. The build and kill zombies fast furious blueprint is essentially a tutorial disguised as a reward, and it teaches the light car build habits that make later blueprints easier.
How do blueprints actually count toward completion in Build and Kill Zombies?
Each blueprint has a fixed number of part slots, and any matching part in the correct category fills the slot. The build and kill zombies how to complete blueprints system tracks each slot independently, so partial progress is preserved between sessions. A side-mounted support does not count toward a front-support slot, which is why placement matters as much as the part itself.
Can I complete the Blue Monster blueprint with a light car build?
Not fully, because the Blue Monster blueprint requires a medium engine and at least one reinforced block. The build and kill zombies blue monster blueprint is the natural next step after Fast Furious, and it requires a balanced profile rather than a pure light build. Running a medium engine on a light chassis is the most fuel-efficient way to clear it.
Is a light car build viable for the King 1x1x1x1 boss fight?
No. The King 1x1x1x1 boss during the Hacker Event 2026 hits hard enough to one-shot a light frame, so a heavy or balanced build is required for that specific encounter. The light car build is the foundation for clearing blueprints and farming bonus rolls, but the boss fight is where the heavy build profile earns its keep.