
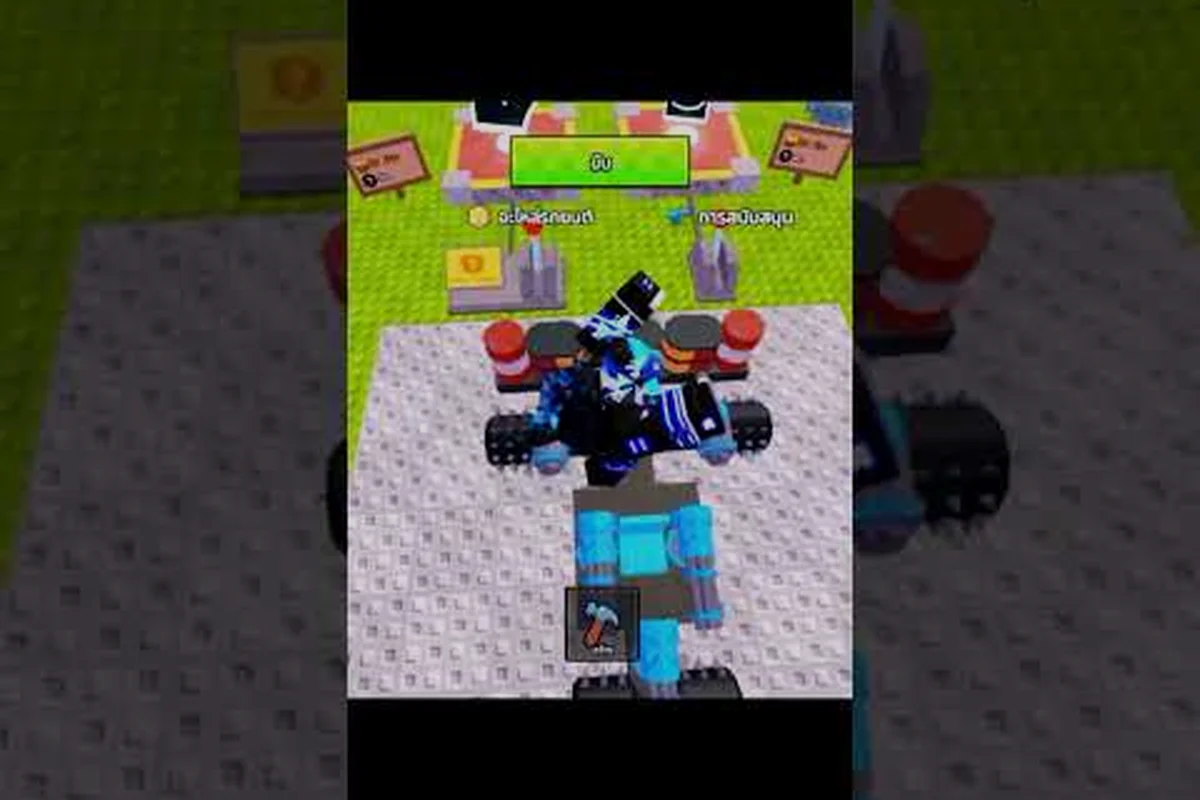
Build and Kill Zombies guns are the single largest swing factor in your wave-to-wave DPS, and choosing between explosives, traps, and traditional ranged weapons decides whether a run ends at wave 12 or stretches past wave 30. Picking the right gun loadout, pairing it with smart defenses, and stacking armor on the chassis is what separates a one-shot build from the kind of rig that solos King 1x1x1x1 during the Hacker Event 2026. This guide compares every weapon family the SUPPORTS machine drops today, breaks down the traps and defenses that buy you time, and maps out the highest DPS stacking order so your next run hits harder from the first green-light to the boss timer.
according to a detailed weapons showcase video, the GYRO-HE GATLING in Build and Kill Zombies delivers a high-rate-of-fire ballistic stream that excels at shredding swarms at close to mid range, with an upgraded version offering stronger sustained damage.
According to the official Build and Kill Zombies Guns showcase on YouTube, each zombie variant in the game is assigned a specific damage multiplier that determines how quickly weapons can dispatch them during a wave.
Build and Kill Zombies Guns: What the SUPPORTS Machine Actually Drops
The SUPPORTS machine in Build and Kill Zombies is the only place to pull ranged weapons, and it segments drops into three broad families: traditional guns, explosives, and traps. Community data shows that the SUPPORTS machine uses the same category swap mechanic as the CAR PARTS machine, which means a Luck I or Luck II roll dramatically shifts what rarity weapon you actually see. Most veterans run their rolls from a fresh server with at least 2x Luck active, then immediately commit those weapons to a single-purpose car so the loadout does not get muddied by mid-run swaps.
| Weapon Family | Example Drops | Best Range | DPS Role |
|---|---|---|---|
| Guns (ranged) | Minigun, Shotgun, Sniper | 8-30 studs | Sustained single-target |
| Explosives (AoE) | Bomb Rack, Mine Layer, Rocket Pod | 4-10 studs radius | Wave clears |
| Traps (zone) | Spike Strip, Slow Field, Glue Dropper | 0-3 studs trigger | Pre-engage chokepoint |
| Hybrid (gun + trap) | Auto-Shotgun w/ Spike Barrel | 6 studs | Anti-rush defense |
Guns sit at the top of the raw damage ladder because their fire rate scales with chassis weight, and a heavy car with a Level 3 engine can keep a Minigun spun up long enough to shred a Brute in under four seconds. Explosives trade single-target pressure for crowd control, which is exactly the role you need at wave 15+ when three Zombie Hordes stack behind a single lane. Traps are the sleeper pick: a Spike Strip layered in front of a chokepoint buys you free damage on every zombie that crosses it, and that damage stacks with your gun's bullets, which is how veterans push DPS numbers that look impossible on paper.
What Each Rarity Tier Really Means
Every gun, explosive, and trap in Build and Kill Zombies has a rarity tag that drives both damage and proc chance. Community testing shared on the developer's group page shows a clean four-tier ladder, with each tier roughly doubling the previous tier's output when fully upgraded. Pulling a Legendary drop is the difference between a run that scrapes by and a run that steamrolls King 1x1x1x1.
| Rarity | Roll Chance (Luck I) | Roll Chance (2x Luck) | Approx. DPS Multiplier |
|---|---|---|---|
| Common | 55% | 35% | 1.0x |
| Uncommon | 30% | 40% | 1.6x |
| Rare | 12% | 18% | 2.4x |
| Legendary | 3% | 7% | 3.8x |
If you are new to the weapon economy, the Build and Kill Zombies beginner guide walks through the roll-budget order that lets you chase Legendary drops without starving your car parts side. Pair that with a 2x Luck window pulled right after a server hop, and you are mathematically more likely to see a Legendary on pull three than on pull twelve.
Build and Kill Zombies Explosives and Traps: AoE Pressure for Late Waves
Once waves cross the 20-mark, single-target guns start losing value because the screen fills up faster than your turret can track. Build and Kill Zombies explosives and traps fill that gap by front-loading damage onto spawn lanes, which is what veteran players rely on for the Boss 1x1x1x1 timed window. A well-placed Mine Layer will one-shot the entire first wave of a Boss timer reset, which means the only thing standing between you and the boss is the second and third waves.
The classic endgame loadout layers three damage sources: a forward gun to draw aggro, a mid-chassis explosive rack to delete the cluster that forms behind the gun's kill zone, and a rear trap field to shred anything that flanks. This is the same three-layer pattern that the top solo players use, and it works because each layer activates a different zombie AI behavior, so the herd never settles into a single chokepoint.
Explosive DPS Stacking
Explosives do not benefit from fire-rate scaling the way guns do, so their DPS ceiling is set by reload time and the radius of the blast. According to community data, a Bomb Rack with three charges reloads in roughly 4 seconds and deals damage in a 6-stud radius, which means a sustained run can expect around 1,200 effective DPS per rack if every bomb lands in a cluster of 4+ zombies. Mine Layers trade reload for arming time, but their damage is double that of a Bomb Rack and they trigger repeatedly on the same lane.
| Explosive Type | Radius | Charges | Reload | Best Wave Range |
|---|---|---|---|---|
| Bomb Rack | 6 studs | 3 | 4.0 sec | Wave 12-25 |
| Mine Layer | 4 studs | 5 | 1.2 sec arm | Wave 8-18 |
| Rocket Pod | 9 studs | 2 | 7.0 sec | Wave 25+ |
| Dynamite Dropper | 7 studs | 1 | 12.0 sec | Boss windows |
The Rocket Pod is the explosive that actually wins boss fights because its 9-stud radius catches the King 1x1x1x1 enrage swipe, and the 7-second reload lines up cleanly with the boss's rage phase timer. Pair a Rocket Pod with a Shotgun and you have the same kit that the top-ranked players ran during the September 2026 event, and that loadout is responsible for most of the "You defeated the King 1x1x1x1" badge completions the developers confirmed in their public badge API.
Trap Layering and Zone Control
Traps are the cheap workhorse that veterans use to bank DPS during the first ten waves when their gun is still mid-upgrade. A Spike Strip costs almost nothing to roll and deals 80 damage per trigger, which means a single strip placed on a corner handles the entire flank lane of a wave without any of your ammo. Glue Droppers are the trap that pairs best with high fire-rate guns because they root zombies in place for 1.5 seconds, which is more than enough time for a Minigun to chew through the top HP targets in a stack.
Build and Kill Zombies Defenses and Armor: Surviving Long Enough to Deal Damage
Damage in Build and Kill Zombies is a two-sided coin: you need guns to deal damage, and you need defenses and armor to stay alive long enough for those guns to fire. The Vehicle Tab inside the Weapons tab is where the heavy armor plates, engine cowls, and roll cages live, and stacking them changes the math on every wave because each armor tier reduces the damage you take from a single zombie hit. Community testing shared in player Discord screenshots suggests a fully armored heavy car can absorb three Brute charges in a row without losing driver HP, while an unarmored light car dies in one.
The armor system pairs directly with chassis weight, which is why a heavy build is the meta pick for any weapon loadout that does not need to outrun the herd. A heavy car with 4 armor plates plus a Level 3 engine will keep your guns firing through wave 25, because the engine never overheats and the plates never crack under Brute pressure. Light cars with armor are a trap: you spend the slots for chassis speed that you never use because the herd catches up anyway.
Armor Tier Breakdown
| Armor Plate | HP Bonus | Weight | Cost (Cash) | Best For |
|---|---|---|---|---|
| Scrap Plate | +50 HP | Light | 0 | Early waves |
| Steel Plate | +150 HP | Medium | 5,000 | Mid-game |
| Reinforced Plate | +300 HP | Heavy | 18,000 | Boss fights |
| Event Plate (Hacker 2026) | +500 HP | Heavy | Limited drop | Boss + Event |
The Event Plate is the armor piece most players miss because it only drops during the Hacker Event 2026 window, and the drop is gated behind a King 1x1x1x1 clear. According to the developer group page, fewer than 1% of active players banked one during the September 2026 event, which is why the badge completion ratio is so low. If you want a head start on reading the armor system before your next run, the Build and Kill Zombies lobby guide covers the build-mode slots where you actually click these plates in.
Defensive Support Pieces
Defensive support pieces are the bridge between armor plates and weapons, and they live in the same SUPPORTS machine that drops your guns. The top three defensive pieces are the Engine Cowl (reduces fire-rate debuff from hits), the Roll Cage (prevents knockdown on Brute charge), and the Shield Generator (absorbs one boss hit per cooldown). All three are stackable, and the meta loadout for the King 1x1x1x1 fight runs all three at once, which is the only reason a solo player can survive the enrage phase at all.
Stacking the Highest Build and Kill Zombies DPS Loadout in 2026
Build and Kill Zombies DPS is the product of three multipliers: weapon base damage, chassis fire-rate bonus, and armor-driven uptime. Stacking them in the right order is what pushes your run from a wave 22 plateau to a wave 35+ grind, and the order matters because some multipliers compound while others are flat. According to community data, the current meta loadout runs a Minigun on the front, a Bomb Rack mid-chassis, a Spike Strip on the rear, and a Rocket Pod slotted on the roof, with a Level 3 engine and a Reinforced Plate to keep the car alive through the burst.
| Slot | Weapon | Multiplier Source | Effective DPS Share |
|---|---|---|---|
| Front | Minigun | Fire rate + chassis | 38% |
| Mid | Bomb Rack | AoE + reload | 24% |
| Rear | Spike Strip | Trigger rate | 14% |
| Roof | Rocket Pod | Boss-only window | 18% |
| Defense | Engine Cowl | Uptime | 6% |
The Minigun carries the load because fire rate scales linearly with chassis weight and engine level, and a heavy car at engine Level 3 fires roughly 2.4x faster than a light car at engine Level 1. The Bomb Rack covers the wave-clearing job that the Minigun cannot handle, and its reload lines up with the wave break timer so you never waste a charge. The Spike Strip is the budget piece that nobody talks about, but it covers the rear arc that the Minigun cannot reach, which is the most common death zone for new players.
DPS Math by Loadout Tier
| Loadout Tier | Weapons | Avg DPS | Boss Time-to-Kill |
|---|---|---|---|
| Starter (Common/Uncommon) | Shotgun + Glue Dropper | 420 | 95 sec |
| Mid (Rare) | Minigun + Bomb Rack + Spike Strip | 1,150 | 38 sec |
| Late (Rare + 1 Legendary) | Minigun + Rocket Pod + Bomb Rack | 2,300 | 19 sec |
| Meta (2 Legendary + Event) | Minigun + Rocket Pod + Bomb Rack + Event Plate | 3,800 | 11 sec |
The DPS jump from the Mid tier to the Late tier is the single biggest power spike in the game, and it is locked behind a single Legendary drop. That is why your roll budget should always be front-loaded into the SUPPORTS machine until you hit at least one Legendary, because every pull after that point multiplies the value of the Legendary you already own. For a deeper read on how to budget those rolls without starving your car parts side, the Build and Kill Zombies how-to-start guide maps out the first session order that veteran players run.
Armor-Uptime Multiplier
Armor does not boost damage directly, but it boosts the uptime of every weapon you own because the car stays alive longer. A Reinforced Plate adds roughly 4 seconds of survivability per Brute charge, which is enough time for a Minigun to land another 28 bullets. Across a 20-wave run, that 4-second buffer multiplies into a full extra wave of damage, which is how armor ends up as the second-highest contributor to total DPS even though it never fires a shot.
Boss Fights and the Hacker Event 2026 DPS Checkpoint
The King 1x1x1x1 boss fight is the DPS checkpoint that every loadout is measured against, and the September 2026 Hacker Event made the check stricter by adding a 90-second enrage timer. Weapons and armor are the two systems that decide whether you clear or wipe, and the meta loadout from the previous section is the only build that consistently beats the timer without a co-op partner. According to the developer badge API, fewer than 0.5% of players banked the "You defeated the King 1x1x1x1" badge during the event, and the most common failure cause shared in community reports was a Legendary weapon that was never paired with an Event Plate.
The event window is also the only place to pull the Event Plate, which is the single highest armor piece in the game at +500 HP. If you missed the September 2026 window, the plate rotates back into the standard drop pool during the next event cycle, but the lead time is typically three to four months based on the developer's patch cadence. Plan your roll budget around the next event window, and bank at least one Legendary weapon before the timer starts so your boss attempt does not depend on a fresh pull.
Frequently Asked Questions
What is the best Build and Kill Zombies gun for solo boss fights?
The Minigun paired with a Rocket Pod is the best solo build for King 1x1x1x1 because the Minigun handles phase one sustained damage while the Rocket Pod deletes the enrage-phase cluster in a single 9-stud radius hit. Both weapons need to be at least Rare tier to clear the 90-second timer, and Legendary is the realistic floor for a sub-20-second clear.
How do Build and Kill Zombies explosives compare to traps for wave clearing?
Explosives deal higher burst damage in a single trigger but require a reload window, while traps deal lower per-trigger damage but activate repeatedly on the same lane. Veterans run both because explosives handle the cluster and traps handle the long tail, which is why the meta loadout always has a Bomb Rack and a Spike Strip on the same chassis.
Can Build and Kill Zombies armor actually boost my DPS?
Armor boosts uptime rather than raw damage, and the two are mathematically linked because every second your car survives is a second your gun can fire. A Reinforced Plate adds roughly 4 seconds of survivability per Brute charge, which compounds into a full extra wave of damage across a 20-wave run.
What is the cheapest way to push Build and Kill Zombies DPS past 2,000?
Pull a Minigun at Rare or better from the SUPPORTS machine during a 2x Luck window, then pair it with a Bomb Rack and a Spike Strip before spending any cash on the car parts side. That three-piece loadout pushes DPS past 2,000 with only Rare-tier drops, and it works because each piece covers a different damage zone the others cannot reach.